
DISCOUNTED EDUCATION PRICING! CALL 1-877-891-8411. We Gladly Accept School Purchase Orders!
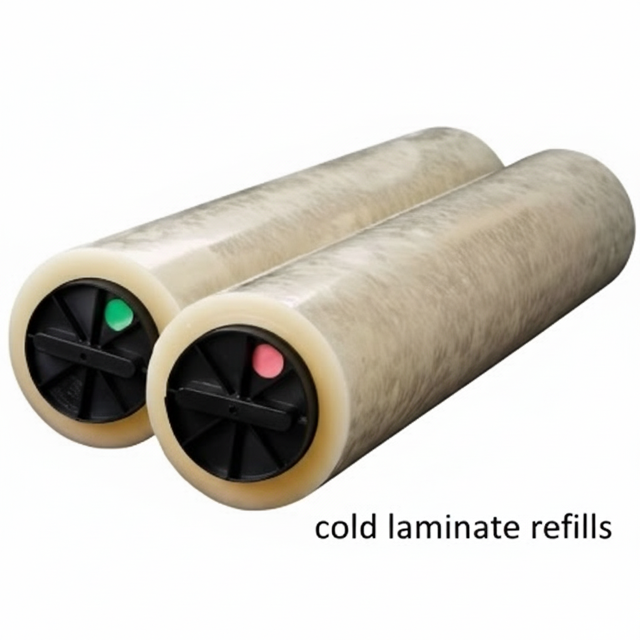
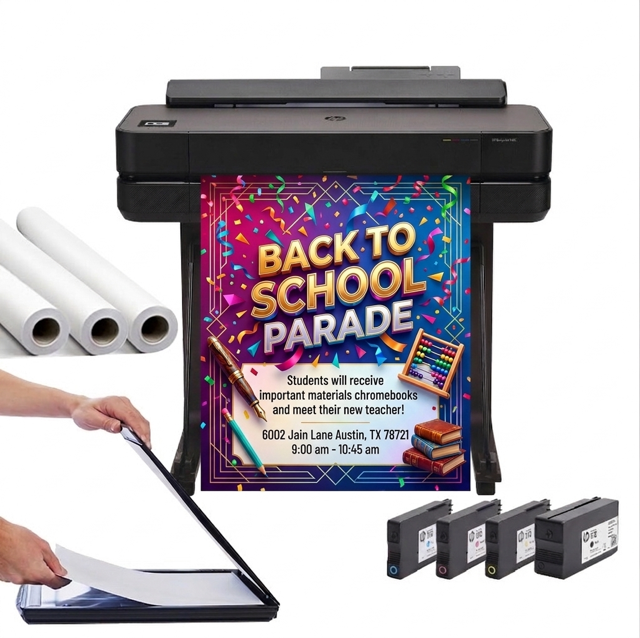
If you’ve ever stared at a stack of important documents, posters, or photos wondering how to protect them without turning them into a wrinkled mess, cold laminate refills might just be your new best friend. These handy rolls of pressure-sensitive film are essential for anyone using a cold laminator—whether you’re a teacher prepping classroom materials, a small business owner safeguarding signage, or a crafter preserving your latest masterpiece. Unlike their heat-based counterparts, cold laminate refills bond through pressure alone, making the process quick, safe, and versatile.
But with so many options out there, it’s easy to feel overwhelmed. What size do you need? Are glossy or matte finishes better? How do you avoid those pesky bubbles? In this post, I’m drawing from years of hands-on experience in the printing and lamination world to tackle your top questions about cold laminate refills head-on. We’ll cover everything from basics to troubleshooting, so you can laminate with confidence. Let’s dive in.
Cold laminate refills are replacement rolls of lamination film designed specifically for cold laminating machines. These machines apply pressure to bond the film to your documents, photos, or other materials without any heat involved. The refills typically come as dual-roll cartridges or separate top and bottom rolls: the top roll has a clear, adhesive-backed film, while the bottom might be a liner or additional laminate layer. This setup ensures even coverage on both sides if you’re going for a double-sided seal.
Key Features of Cold Laminate Refills:
Think of them as the “ink cartridges” for your cold laminator—when you run low, you swap them out to keep the magic flowing. In my experience working with schools and offices, these refills shine because they’re forgiving for beginners. No waiting for the machine to heat up means you can laminate on a whim, and the results are professional without the fuss.
Pro Tip: Start with a standard 3-mil thickness—it’s flexible enough for most everyday needs without feeling flimsy.
Cold laminate refills rely on pressure-sensitive adhesives rather than thermal activation. When you feed your document into the laminator, it passes between the two rolls of the refill. The top roll’s adhesive side presses down onto the material, while the bottom roll provides support and removes any backing liner as it goes. Rollers inside the machine apply even pressure, creating a bubble-free seal that protects against scratches, moisture, and wear.
The process is straightforward, and no electricity is always needed for manual models, adding to their portability. For electric ones, it’s just a matter of adjusting speed settings to match your material’s thickness. From troubleshooting countless setups in busy print shops, I’ve seen that proper alignment is key. If the film isn’t centered, you’ll get uneven edges, but most machines have guides to make this foolproof.
Switching to cold laminate refills can transform your workflow, especially for heat-sensitive items. Here are the standout advantages:
In my decade-plus in the industry, I’ve recommended cold refills to clients frustrated with hot laminators’ inconsistencies. They’re more forgiving on textured papers, and the pressure-only bond holds up well for indoor use. The trade-off? They might not be as rigid for heavy-duty outdoor signs, but for most applications, the pros outweigh that.
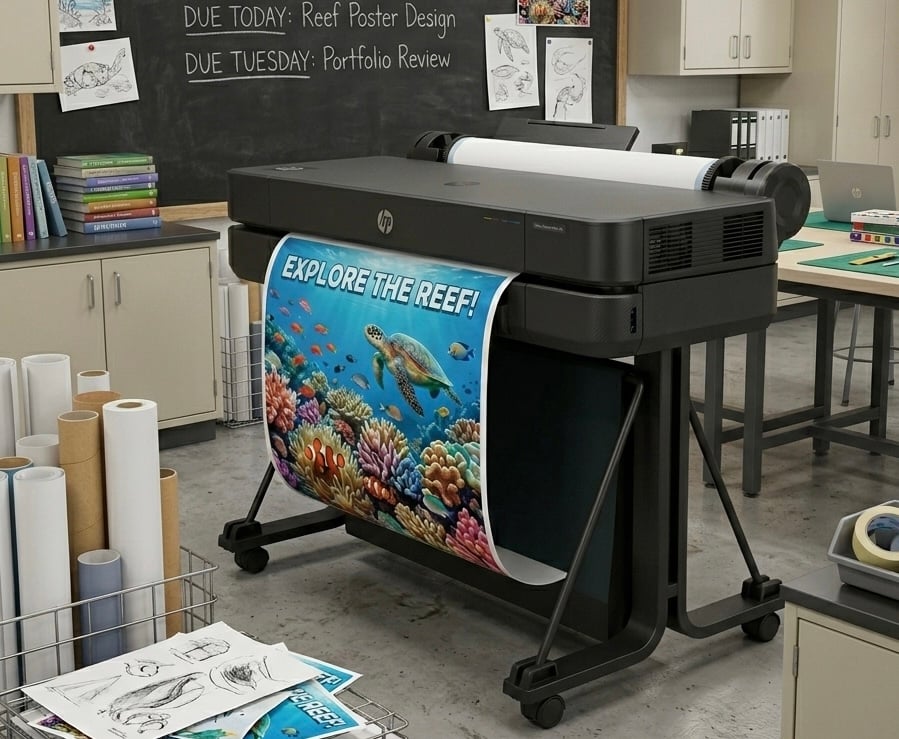
In 2025, a few brands consistently top the list for reliability and performance. Xyron remains a frontrunner, especially for their cartridge-style refills that snap into models like the XM1255 or ezLaminator. Their acid-free, non-toxic films are a staple in schools and crafts, offering smooth feeding and vibrant results. 3M and Scotch are close behind, particularly for professional setups, delivering bubble-free application on wide formats, ideal for posters. For budget-conscious users, generic options from Fellowes or store brands provide solid value without skimping on quality—I’ve used them in high-volume office runs with zero complaints.
Brand Snapshot:
My pick? Xyron for ease of use, but always match to your machine—proprietary fits matter. Test a small pack first to ensure compatibility.
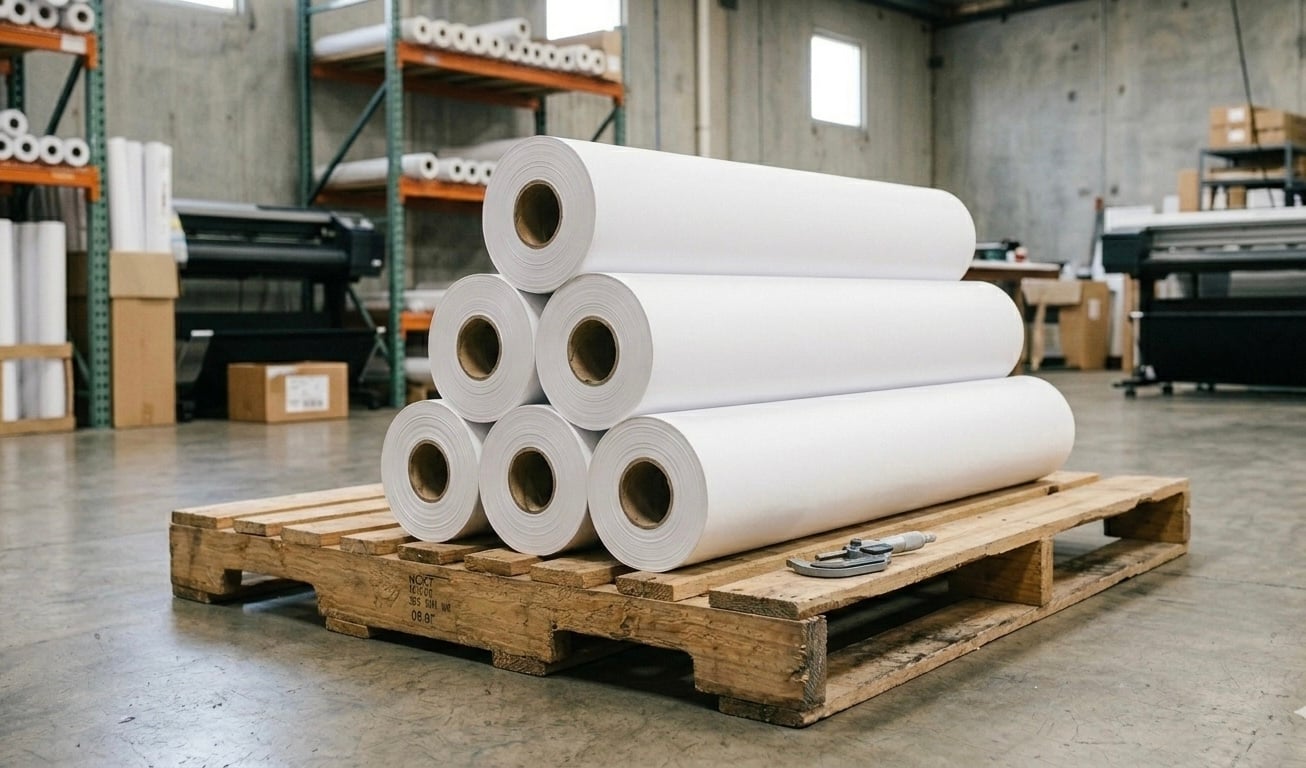
Selecting the perfect cold laminate refill boils down to matching your machine’s specs to avoid jams or waste. Start with width: measure your laminator’s max capacity—9 inches for desktop models, up to 27 inches for poster pros. Next, check core size (usually 1-2 inches) and film length (100-300 feet) based on your volume—low-use folks can save with shorter rolls.
Quick Checklist for Choosing Refills:
From years of advising print shops, my rule is: over-spec slightly for longevity. Read your manual, then cross-check user feedback for feeding smoothness. If unsure, opt for multi-packs to experiment affordably.
Glossy and matte cold laminate refills serve different vibes but use the same pressure-bond tech. Glossy refills add a shiny, reflective sheen that amps up colors—think vibrant posters or photo displays. They’re fingerprint magnets but great for eye-catching marketing materials. Matte offers a subtle, non-glare finish that’s easier on the eyes in lit environments and resists smudges better, ideal for instructional signs or certificates.
In practice, I’ve found glossy suits creative projects where “wow” factor rules, while matte wins for professional docs. Some brands offer textured hybrids for grip. Test both—your project’s lighting and audience will dictate the winner.
Installing cold laminate refills is simpler than it sounds, but precision prevents headaches. Here’s a step-by-step guide:
Adjust speed for your thickness. I’ve installed hundreds this way; the key is patience—rush it, and you’ll realign twice.
Even top-tier cold laminate refills hit snags, but most are fixable. Bubbles often stem from dust or misalignment—clean rollers with a soft cloth and recenter the film. Wrinkles? Check for backward installation (adhesive wrong way) or low tension—increase pressure or slow feed speed. Peeling happens with thin glue layers; upgrade to 5-mil for better adhesion. If feeding jams, verify width compatibility and remove curls from the roll.
Troubleshooting Cheat Sheet:
From field fixes, 80% trace to setup errors. Run diagnostics per your manual, and if persistent, it might be warped rollers—time for service. Store refills in cool, dry spots to maintain quality.
Scoring deals on cold laminate refills is easy with smart shopping. Major retailers offer Xyron cartridges starting at $20 for 60-foot rolls. Office supply stores carry generics under $15, plus bulk discounts. Specialty suppliers like Education Graphic Solutions provide pro-grade options from Xyron at competitive prices, while some retailers bundle 25-inch rolls with machines for schools.
Buying Tips:
My tip: prioritize retailers with clear return policies in case of compatibility issues. Compare roll lengths to get the best value for your usage.
So, why make the leap to cold laminate refills? They’re a game-changer for anyone looking to protect documents, signs, or crafts with minimal hassle. Their heat-free process makes them safe and versatile, perfect for delicate materials or quick-turnaround projects. Whether you’re laminating a single photo or a batch of classroom posters, the right refill—matched to your machine and needs—ensures durability and professional results. From my years in print shops, I’ve seen these refills save time, reduce errors, and deliver consistent quality that keeps clients coming back.
Final Takeaway: Ready to dive in? Pick a 3-mil glossy or matte refill compatible with your laminator, test it on a small project, and store it properly to keep it performing. You’ll wonder why you didn’t start sooner.