As a middle school science teacher, I’m constantly hunting for ways to turn my classroom into a crucible of curiosity. My eighth graders are a whirlwind of energy, questions, and occasional chaos, and keeping them engaged with abstract topics like the solar system is no small feat. When our school introduced a poster machine for classrooms, I was equal parts intrigued and intimidated. Could this high-tech gadget transform my lessons into something unforgettable? Spoiler: it did. Here’s the story of my first adventure with the poster machine—a rollercoaster of nerves, discovery, and pure classroom magic.
What Is a Poster Machine for Schools, Really?
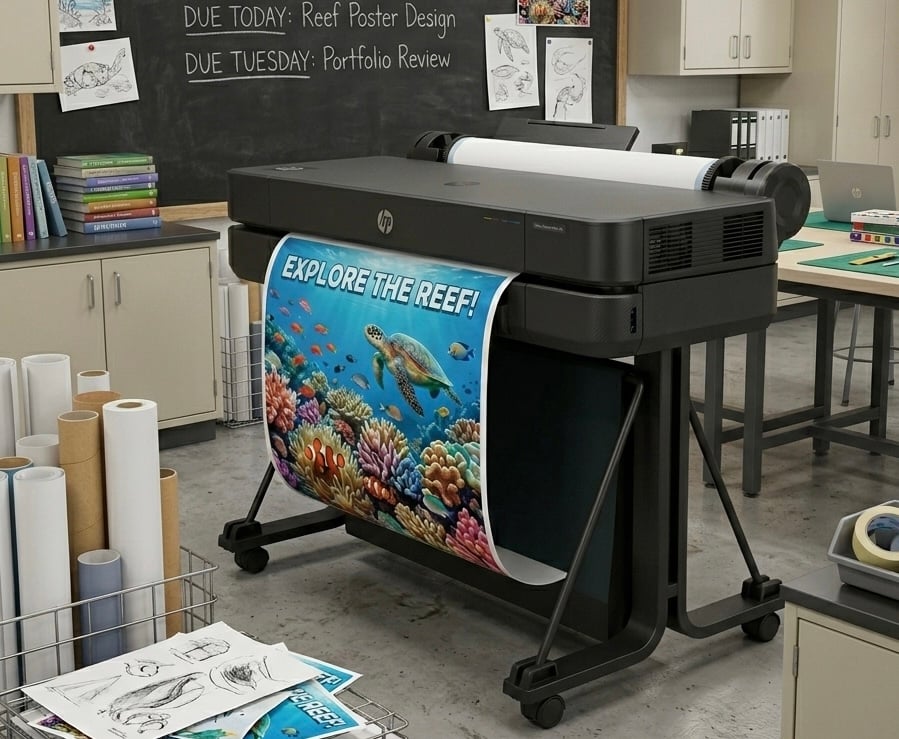
A poster machine for schools is a specialized printer designed to craft large, vibrant posters tailored for educational settings. It pairs intuitive design software with high-quality printing, empowering teachers to create professional-grade visuals without needing a graphic design degree. Think of it as a creative sidekick for bringing lessons to life.
- Key Features:
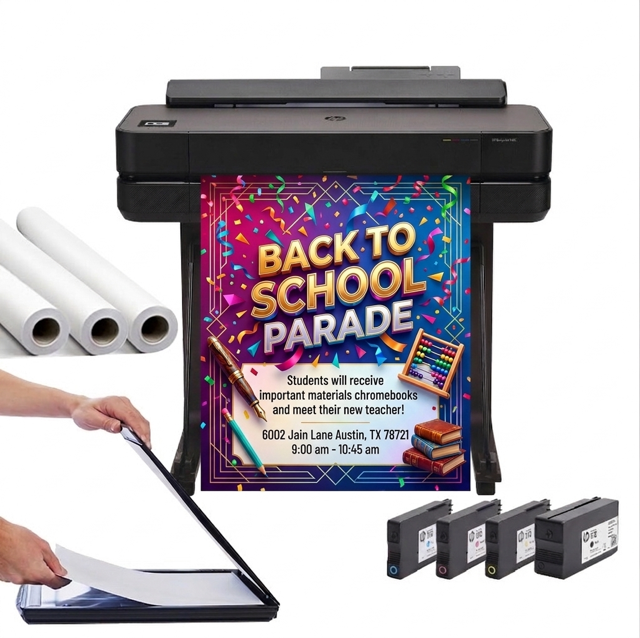
- Prints posters up to 36×24 inches (or larger, depending on the model).
- Touch-screen interface with drag-and-drop design tools for seamless creation.
- Extensive library of preloaded graphics, from planets to historical figures.
- Customizable text with a variety of fonts, sizes, and colors.
- Fast printing with vivid, fade-resistant colors for durable displays.
- Why It’s a Game-Changer: These machines turn complex concepts into eye-catching, accessible visuals that spark student interest and enhance retention. Whether it’s a science diagram or a literature timeline, they make learning tangible and exciting.
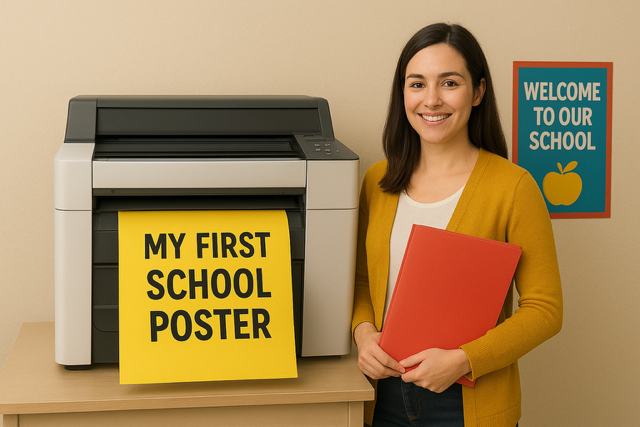
My First Poster Machine Adventure
It was a brisk October morning, the kind where your breath fogs up and the teacher’s lounge smells faintly of burnt coffee. Our school’s new poster machine sat gleaming in the corner, a futuristic marvel amidst stacks of construction paper. My mission? Create a set of solar system posters for my eighth-grade science class—bold, beautiful visuals to ignite excitement about planets, orbits, and the vastness of space. Armed with a USB drive of royalty-free images and a half-baked plan, I approached the machine, heart pounding like I was about to launch a rocket.
- Getting Started: I pressed the glowing green “Power” button, and the touch-screen lit up with a welcoming menu. Selecting “Create New Poster” felt like opening a blank canvas. I chose a 36×24-inch format—large enough to command attention but practical for my classroom’s limited wall space.
- Designing the Poster: I dove into the graphic library, selecting a starry night background that felt like peering into the cosmos. I dragged and dropped planet images, resizing them for balance and adding fun facts like “Jupiter’s Great Red Spot is a storm twice Earth’s size!” in a bold, sans-serif font. I tweaked text sizes to ensure readability from the back of the room, imagining my most distracted students squinting from their desks.
- Hitting a Roadblock: My vision included glowing orbital paths, but the tool eluded me. The manual was nowhere to be found, and I nearly scrapped the idea in defeat. Just then, Ms. Carter, our math teacher and resident tech guru, noticed my furrowed brow. “Try the shape tool,” she suggested, pointing to an icon I’d overlooked. With a few clicks, I drew elliptical orbits that shimmered like neon trails.
- The Printing Moment: I hit “Print,” and the machine whirred to life, pulling glossy paper with a satisfying hum. In under five minutes, it delivered a jaw-dropping poster—vibrant planets, crisp text, and orbits that looked almost 3D. I stood there, grinning like a kid who’d just aced a test.
The next morning, I hung the posters around my classroom before the bell rang, their glossy sheen catching the fluorescent lights. When my first-period students shuffled in, their reactions were electric. “Ms. Thompson, you made these?” one gasped, pointing to Saturn’s iconic rings. Even my quietest students leaned closer, tracing Mars’ reddish hue with wide eyes. The posters became the heartbeat of our solar system unit. Thank you poster machine!
- Student Engagement: Kids read fun facts aloud, sparking debates about Pluto’s dwarf planet status and questions about black holes. My usually distracted crew stayed focused, pointing to visuals during discussions.
- Learning Impact: The posters served as constant references, anchoring lectures and group activities. I had students create hand-drawn mini-posters, mimicking the machine’s style, which deepened their understanding of planetary features.
- Classroom Vibe: The room felt like a mini-planetarium, alive with curiosity. One student even dubbed it “NASA headquarters,” a nickname that stuck.
Why the Poster Machine Is a Game-Changer
This wasn’t just about pretty posters—it was about transforming how my students connected with science. Here’s why the machine has earned a permanent spot in my teaching toolkit:
- Sparks Engagement: Vibrant visuals turned abstract concepts into tangible wonders, fueling questions and discussions.
- Saves Time: The intuitive interface and preloaded templates meant I could create professional posters in under an hour, no design skills needed.
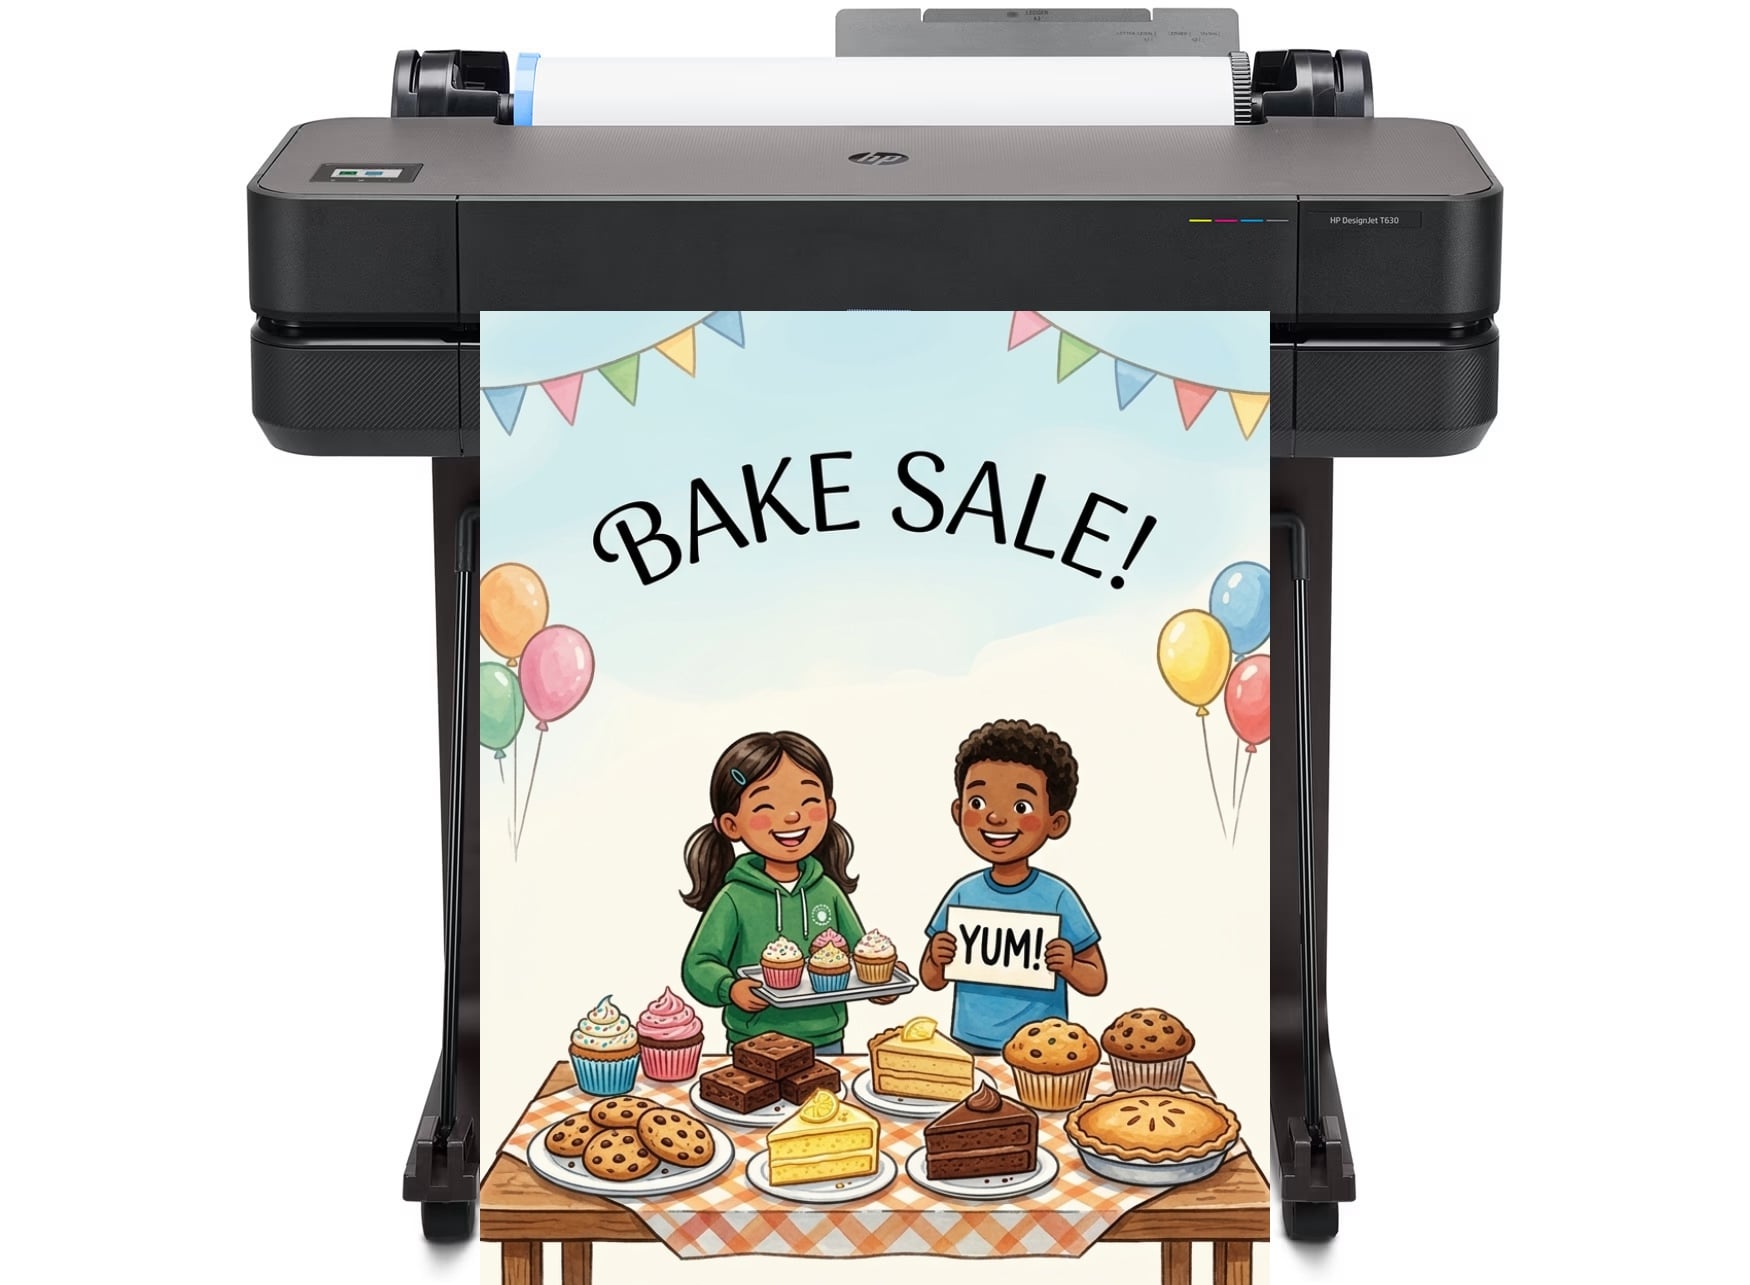
- Versatile Across Subjects: Beyond science, it’s perfect for history timelines, literature character maps, or math concept charts. I’ve since made posters for our biology unit, showcasing plant and animal cells.
- Durable and Reusable: The fade-resistant prints are built to last, saving resources for future years.
- Inspires Creativity: It pushed me to rethink lessons and opened doors for student-led projects, like designing posters as rewards.
Tips for Teachers New to Poster Machines
If you’re eyeing your school’s poster machine, here’s my hard-earned advice for a smooth start:
- Sketch First: Jot down a rough design to streamline your process.
- Explore Freely: Spend 10 minutes testing tools like gradients or shape effects to unlock the machine’s potential.
- Lean on Colleagues: Ask experienced users for quick tips—they’re lifesavers.
- Keep It Simple: Prioritize bold visuals and clear text for maximum classroom impact.
- Involve Students: Guided student projects foster ownership and creativity.
- Check Settings: Ensure your poster size matches your printer’s paper stock to avoid jams.
Looking Ahead
Since that first poster, I’ve become a bit of a poster machine enthusiast. My biology unit now boasts vibrant cell diagrams, and my students beg to use the machine for projects. I’m planning a group activity where my top-performing class designs a poster on exoplanets, tapping into their creativity and the machine’s versatility. The nerves of that first try are long gone, replaced by excitement for what’s next.
People Also Ask: About Poster Machines for Schools
- What is a poster machine? A high-tech printer for large, educational posters with user-friendly design tools.
- How long does printing take? Typically under five minutes, depending on size and complexity.
- Do I need design experience? No, the intuitive software and templates make it accessible for beginners.
- Can students use it? Yes, with supervision, it’s great for student-led projects.
- What paper is best? Glossy paper enhances colors, but matte works for text-heavy designs.
- Any maintenance tips? Regularly check ink levels and clean the printhead to avoid streaks.
Final Thoughts
My first time using the poster machine for schools was a turning point, transforming my science lessons into immersive adventures. It took my ideas and turned them into vibrant visuals that made my classroom a hub of excitement. If you’re a teacher looking to elevate your lessons, dive into your school’s poster machine. Experiment, create, and watch your students’ eyes light up as learning becomes a journey. Share your poster-making stories in the comments—I’d love to hear how you’re sparking curiosity in your classroom!