
DISCOUNTED EDUCATION PRICING! CALL 1-877-891-8411. We Gladly Accept School Purchase Orders!
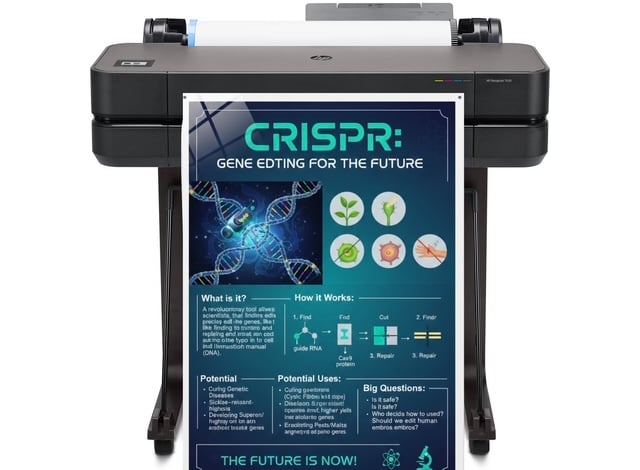
Looking to print a large poster that turns heads, grabs attention, and holds up in the real world — whether it’s hanging in a busy school hallway, on display at a bustling trade show, or catching eyes on the street? You’re not alone. Posters are one of the most powerful visual tools we have — but even the best design can fall flat if your file isn’t properly formatted.
Whether you’re creating signage for a school event, fundraiser, classroom decoration, community announcement, or marketing campaign, your poster’s quality comes down to more than just the message and visuals. The file format you choose — along with resolution, color mode, and export settings — can make or break your final print. Print it wrong, and you risk pixelated images, blurry text, or off-brand colors. Get it right, and your poster becomes a polished, professional piece that delivers your message with impact.
In this comprehensive guide, we’ll break down:
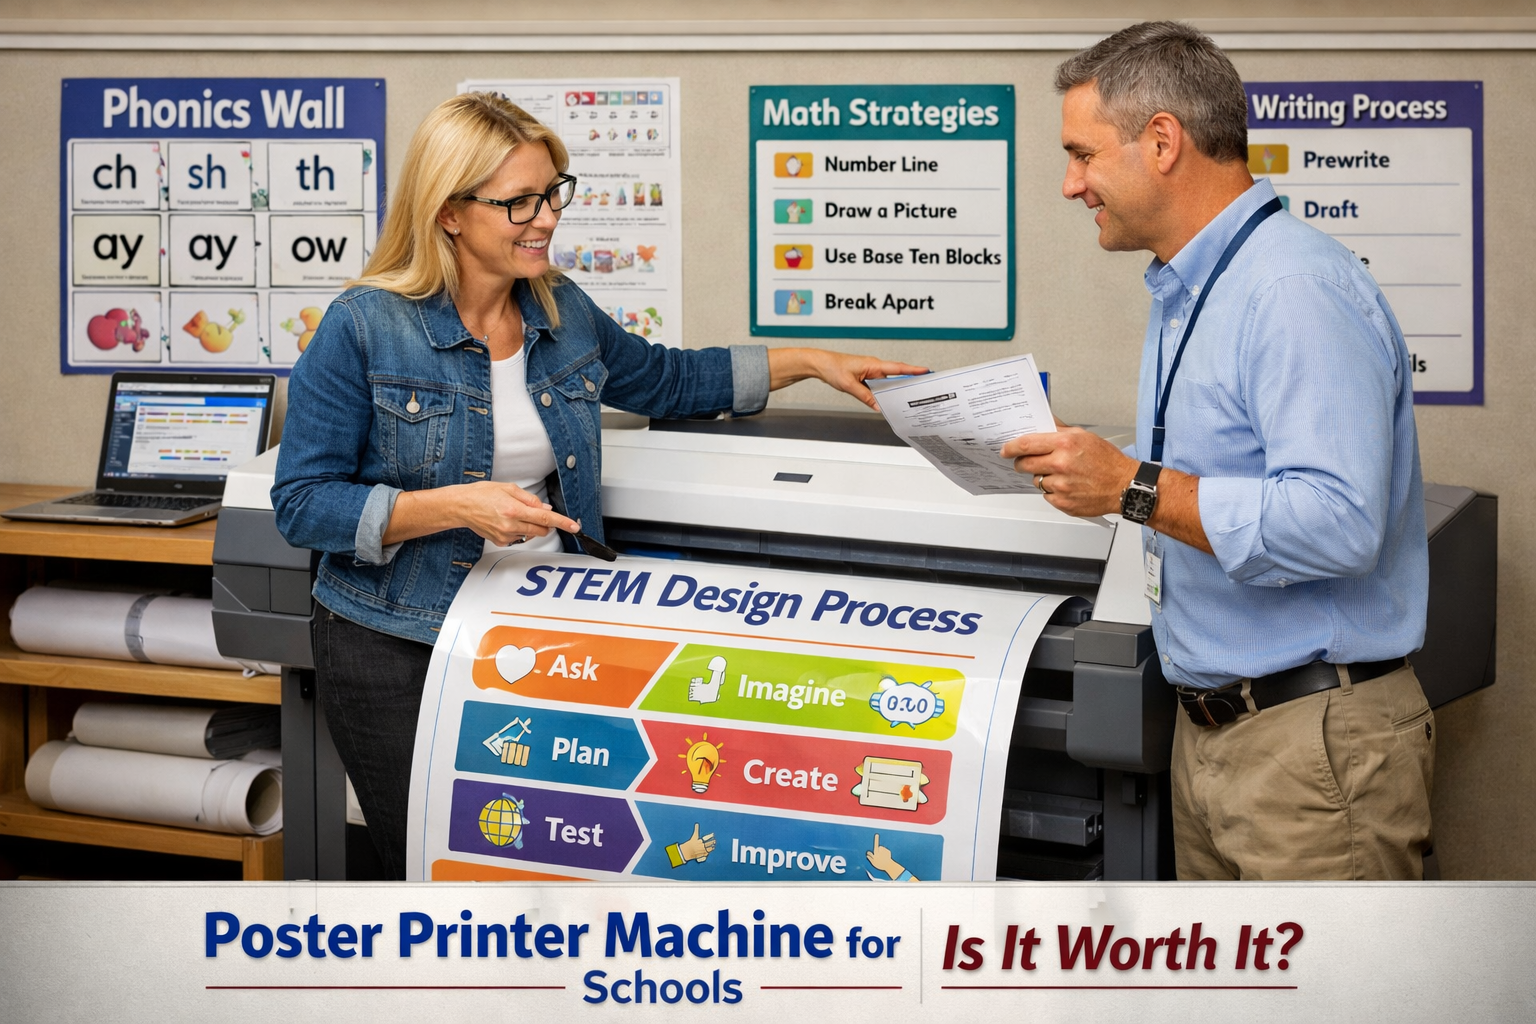
Whether you’re a teacher, school administrator, designer, or small business owner, this is everything you need to know to print large posters like a pro.
For professional poster printing, the best file formats are:
PDF is the gold standard — it preserves vector data, fonts, and layers while being universally compatible. TIFF is best for uncompressed, high-resolution raster images. JPEG is okay for photos, but not for text-heavy or vector-based designs.
Large-format printers commonly support:
Tip: Always design your file at the actual print size to avoid scaling issues.
| File Type | Best For | Pros | Cons |
|---|---|---|---|
| All types of posters | Keeps vectors/text sharp, easy to share | Can get large in file size | |
| TIFF | Photo-heavy designs | Uncompressed, print-ready | Large file size |
| EPS | Logos, vector art | Excellent scalability | Not as widely used anymore |
| JPEG | Photos only | Small file size, widely supported | Compression artifacts, bad for text |
Question: Can I upload a PNG to a poster printer?
Answer: Technically yes, but it’s not ideal. PNGs are for screen use and don’t always export cleanly at large sizes. Stick with PDF or TIFF for best results.
For large posters, resolution is everything.
Example: If you’re printing a 24” x 36” poster at 300 DPI, your image should be 7200 x 10800 pixels.
Posters are printed, not displayed on screens — and printers use CMYK, not RGB.
Always convert your file to CMYK to ensure color accuracy. If you don’t, your bright greens or deep blues might look off.
Tip: Most design software (like Adobe Illustrator or Canva Pro) lets you export PDFs in CMYK.
Before exporting:
This ensures your design prints exactly as you intended, with no font substitution surprises.
A: Export your final design as a PDF (Print) with “crop marks” turned off and resolution set to high. Then check your file’s DPI using a free DPI analyzer tool.
A: It’s possible — especially if you use a mobile app like Canva or Adobe Express — but make sure you:
A: Pixelation happens when:
Fix it: Start with a higher-resolution source file or use vector graphics for scalable sharpness.
You can have a brilliant design, the highest-quality glossy paper, and even the best poster printer on the market — but if your file isn’t prepared correctly, none of that will matter. A pixelated logo, dull colors, or misaligned fonts can turn your masterpiece into a disappointment.
The truth is, poster printing is part art, part science — and it all starts with choosing the right format. The wrong file type or a low-resolution export can sabotage your final result, wasting time, money, and effort. Don’t let a simple oversight ruin an otherwise amazing print.
✅ Set yourself up for success:
Your school poster is a reflection of your message, your school, your brand, or your event. Treat the file preparation process with the same care you gave the design itself.
🎨 Design like a creative. Export like a professional. Print like a pro.
When in doubt, go with a high-resolution, CMYK PDF — it’s the format trusted by educators, marketers, event planners, and print shops alike.