
DISCOUNTED EDUCATION PRICING! CALL 1-877-891-8411. We Gladly Accept School Purchase Orders!
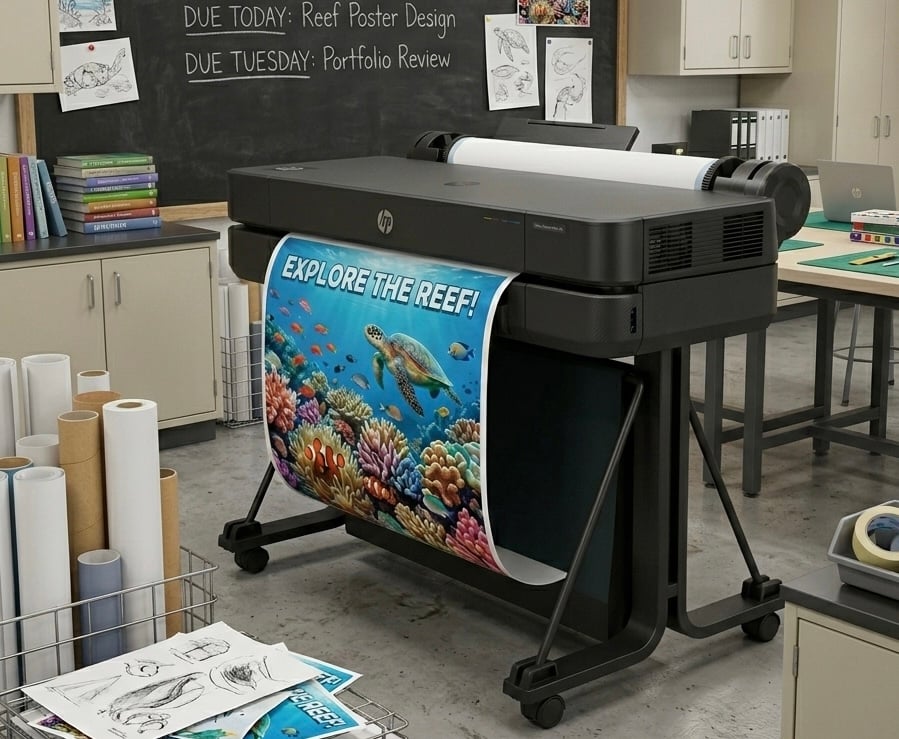
In every classroom, walls tell a story. Some display student artwork, others carry inspirational quotes, but the most effective classrooms use educational posters as silent teaching assistants. A well-designed poster reinforces daily lessons, sparks curiosity, and helps complex ideas “stick” long after class is over.
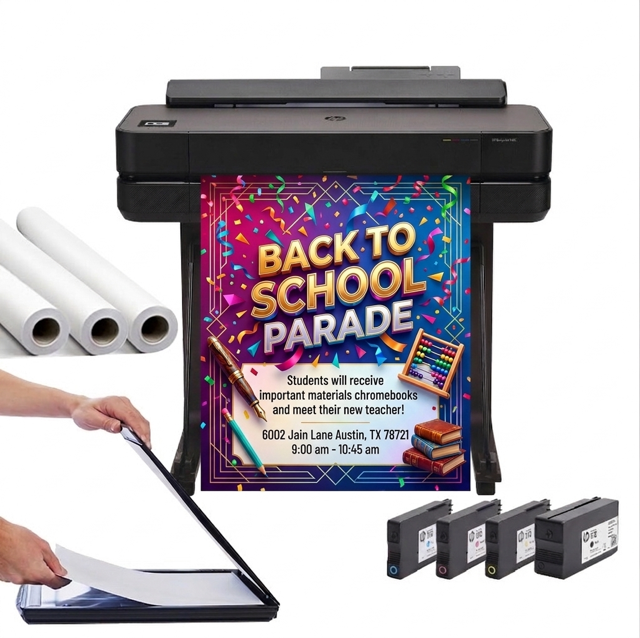
That’s where the poster maker machine shines. It takes ordinary teachers and equips them with design power once reserved for marketing professionals. The challenge? Many teachers aren’t trained designers. That’s why knowing how to design posters with a poster maker machine—using smart choices in colors, fonts, layouts, and design psychology—turns this tool from “just a printer” into a classroom game-changer.
This ultimate guide breaks down everything you need to know to design professional-quality posters that engage students, simplify concepts, and transform your classroom environment.
Before opening poster maker software or choosing a template, stop and define your poster’s mission.
Educational posters make with poster maker machines are most effective when they answer one simple question for students.
👉 Ask yourself:
By narrowing your purpose, you avoid overcrowding the design with “everything at once” and instead create a focused, high-impact learning tool.
Color is not just decoration—it’s pedagogy. According to research in educational psychology, students process and recall color-coded information up to 80% better than monochrome material. The psychology of color in poster designs is fascinating.
👉 Pro Tip: Use no more than three dominant colors. Too many hues overwhelm the brain. Pair one bold highlight color with two neutrals for professional balance.
When paired with the crisp print quality of a poster maker machine, these colors come alive, making every design look polished and classroom-ready.
If a student at the back of your classroom can’t read your poster, it’s not a teaching tool—it’s wall clutter.
👉 Poster Maker Hack: Create a font style “kit” in your software so every teacher in your school uses consistent typography across posters. This builds school-wide cohesion and credibility.
The right font choices ensure that your poster maker machine doesn’t just print big—it prints effective.
Great posters aren’t flat—they guide the eye in a structured flow. That’s why layout design is as important as content.
👉 Example: A “Steps of the Scientific Method” poster might use numbered boxes flowing downward, each with an icon and color-coded section, guiding students naturally through the process. A Teacher Poster Maker is a gamer-changer for all school visuals.
Humans process visuals 60,000 times faster than text. That means an image on your poster is not just “pretty”—it’s a direct pathway into student memory.
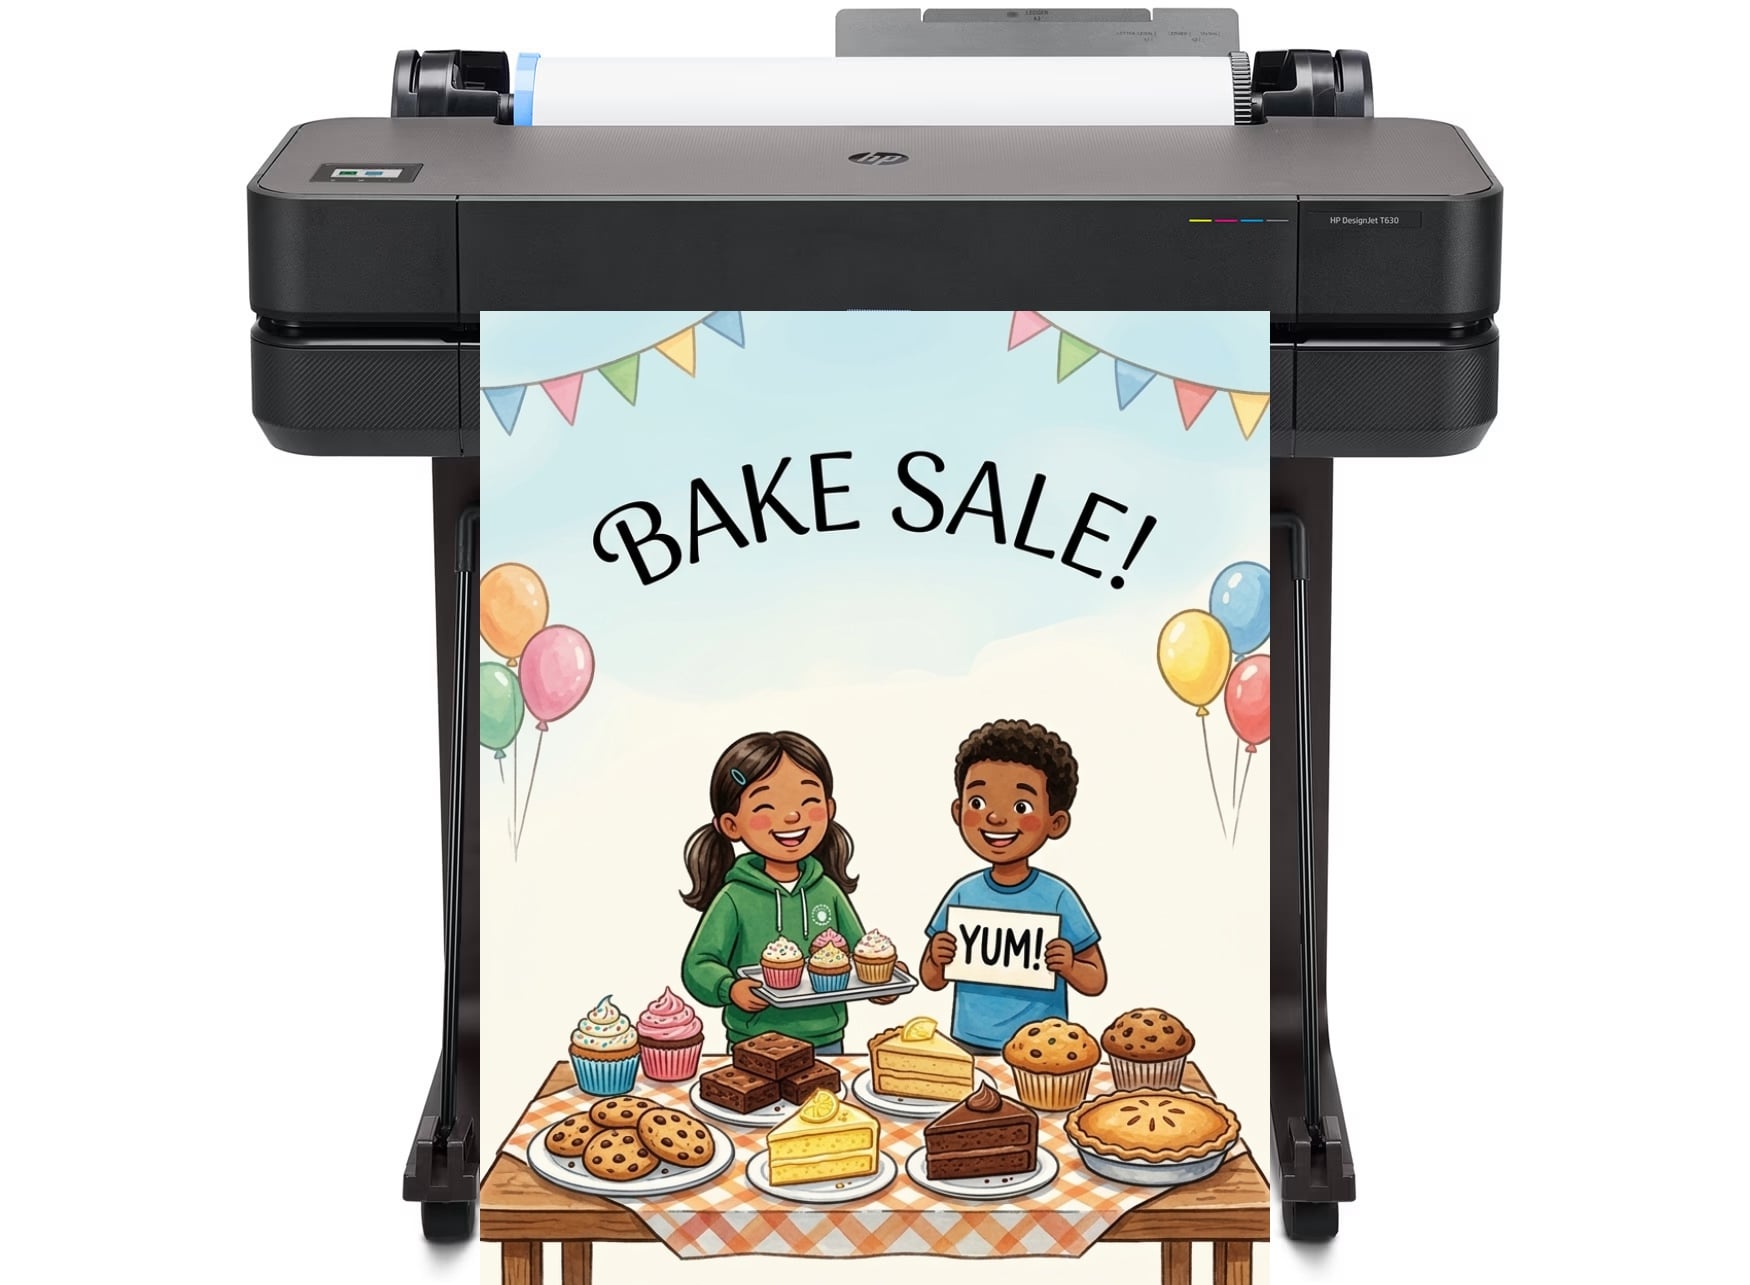
👉 Poster Maker Machine Advantage: Many poster making machines come preloaded with clip art, icons, and templates tailored to education. Use them—but customize to your lesson rather than relying on generic stock.
The right poster maker machine isn’t just about printing big—it’s about printing smart.
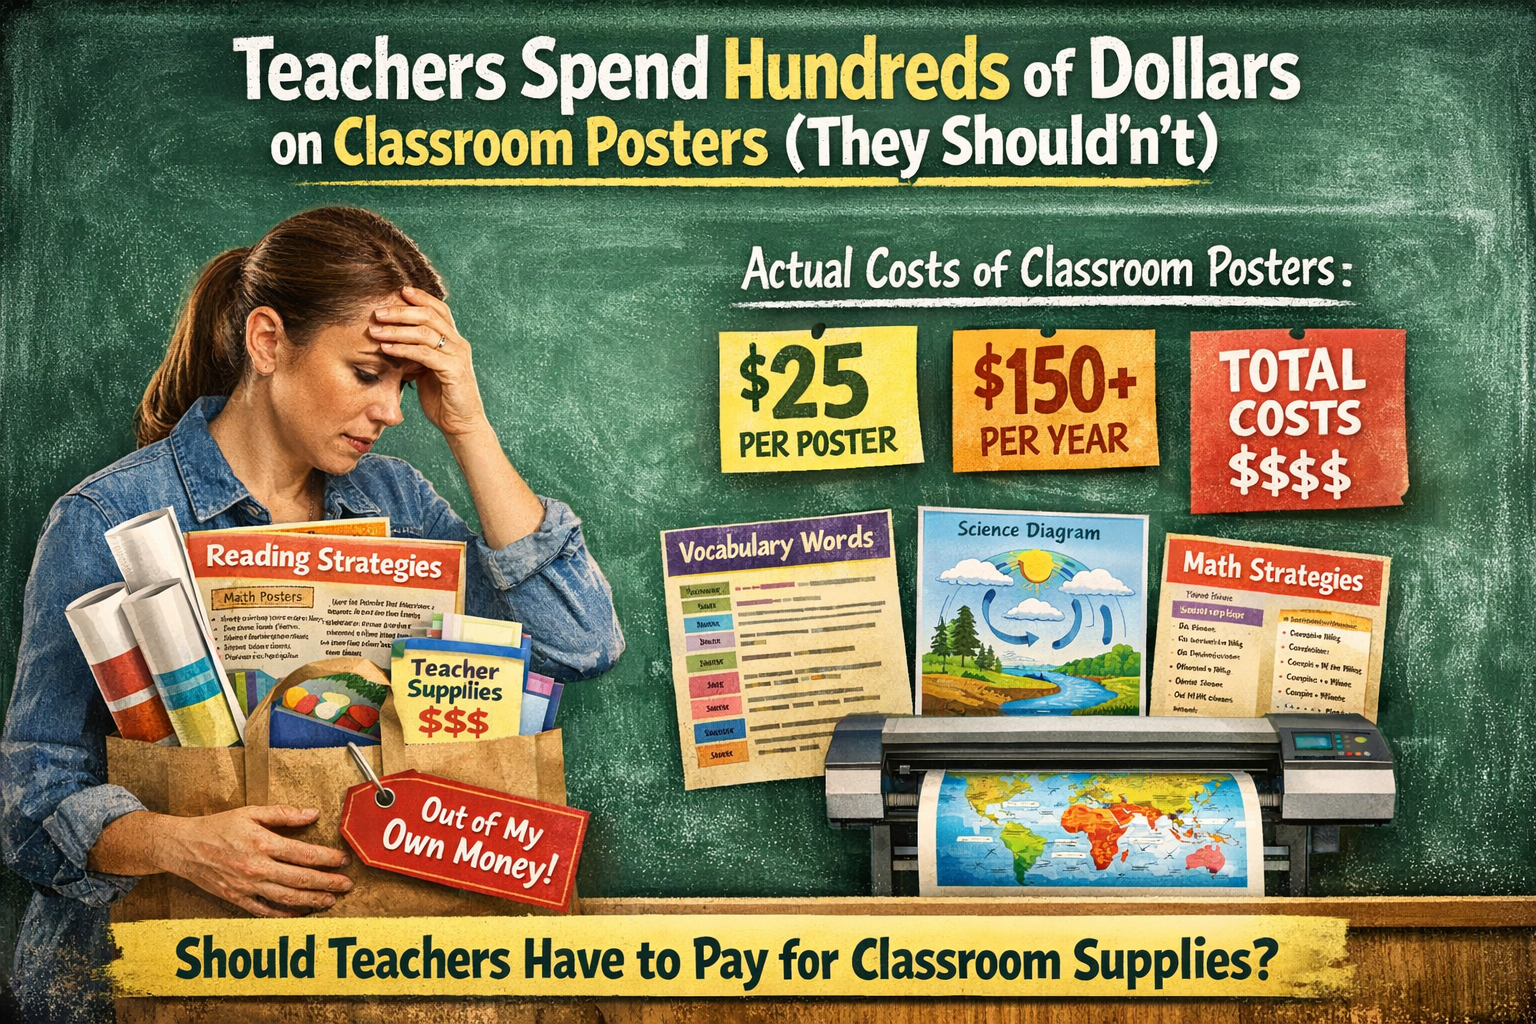
👉 Case Example: One school saved over $2,000 annually by printing in-house motivational and event posters instead of outsourcing. Their poster maker machine became both a teaching tool and a budget saver.
Posters are mini-lessons, and good design psychology makes them stick in memory.
👉 Example: For a grammar poster, don’t list all parts of speech in one block. Instead, split them into color-coded categories with icons (noun 📘, verb 🏃, adjective 🎨).
Your perfect poster may look perfect on screen, but classrooms are different. Test for real-world readability:
If the answer is no, adjust font sizes, spacing, or colors before committing to a large-scale print.
Where you hang a poster affects how often—and how well—students engage with it. Placement matters.
👉 Pro Tip: Pair posters with interactive elements (QR codes linking to videos or quizzes). This blends analog learning with digital engagement. Having a high quality poster maker machine allows you to create stunning posters and banners in-house in seconds.
A poster alone can fade into background noise. But when integrated into active teaching, it becomes a daily reinforcement tool.
When posters become part of your lesson rhythm, they shift from decoration to instruction. And when you consistently design and produce these visuals with your poster maker machine, they become part of your teaching identity.
Designing professional-quality posters with a poster maker machine is part art, part science. By focusing on clear purpose, smart color choices, readable fonts, balanced layouts, engaging visuals, and design psychology, any teacher can produce posters that both look professional and drive real learning outcomes.
When done right, these posters aren’t static—they’re interactive, durable, and woven into your classroom culture. With the right poster maker machine, you don’t just design posters. You design learning experiences.