
DISCOUNTED EDUCATION PRICING! CALL 1-877-891-8411. We Gladly Accept School Purchase Orders!

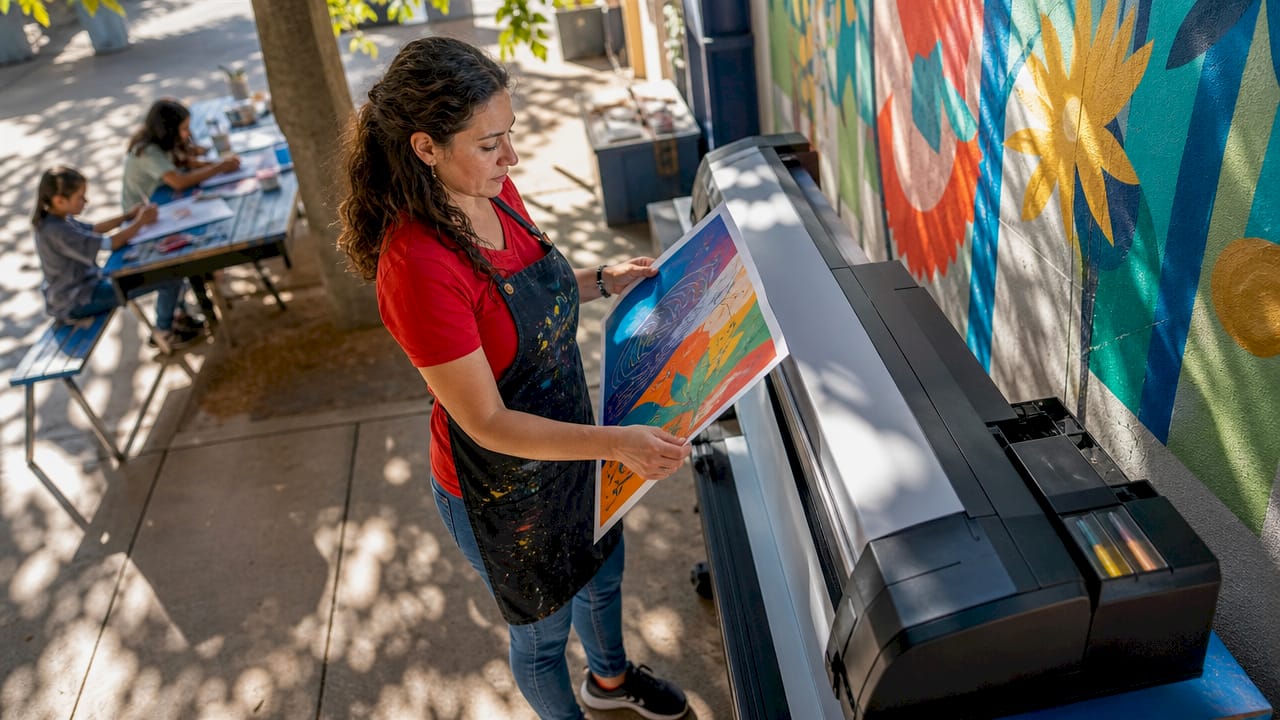
In a world dominated by visuals, the ability to create high-quality posters is invaluable. Whether you’re a photographer, artist, designer, educator, or business owner, a reliable poster maker machine can significantly enhance how you present your work. Alongside traditional graphic design tools like Canva, investing in a quality poster maker machine lets you bring your creative visions to life in full color and large format. With so many options available, how do you choose the best poster maker machine for your specific needs? This guide covers the top choices on the market — including our 24″ Education Graphics full-color poster printer — examining their features, benefits, and suitability for different users.
Why Invest in a Professional Poster Printer?
Before delving into specific models, it’s essential to understand why investing in a quality poster printer is worthwhile: https://schoolposterprinters.com/using-your-poster-printer-machine-for-extra-large-prints/
Top Poster Printer Machine Recommendations
1. Epson SureColor P6000
Overview: The Epson SureColor P6000 is a professional-grade large-format inkjet printer designed for photographers and artists who require exceptional color accuracy and detail.
Key Features:
Ideal For: Photographers, fine artists, and graphic designers looking for gallery-quality prints that can be designed using platforms like Canva.
2. Canon imagePROGRAF PRO-1000
Overview: The Canon imagePROGRAF PRO-1000 is another high-end large-format inkjet printer that excels in color reproduction and detail.
Key Features:
Ideal For: Professionals in photography and fine art, especially those needing precise color and detail in their poster designs.
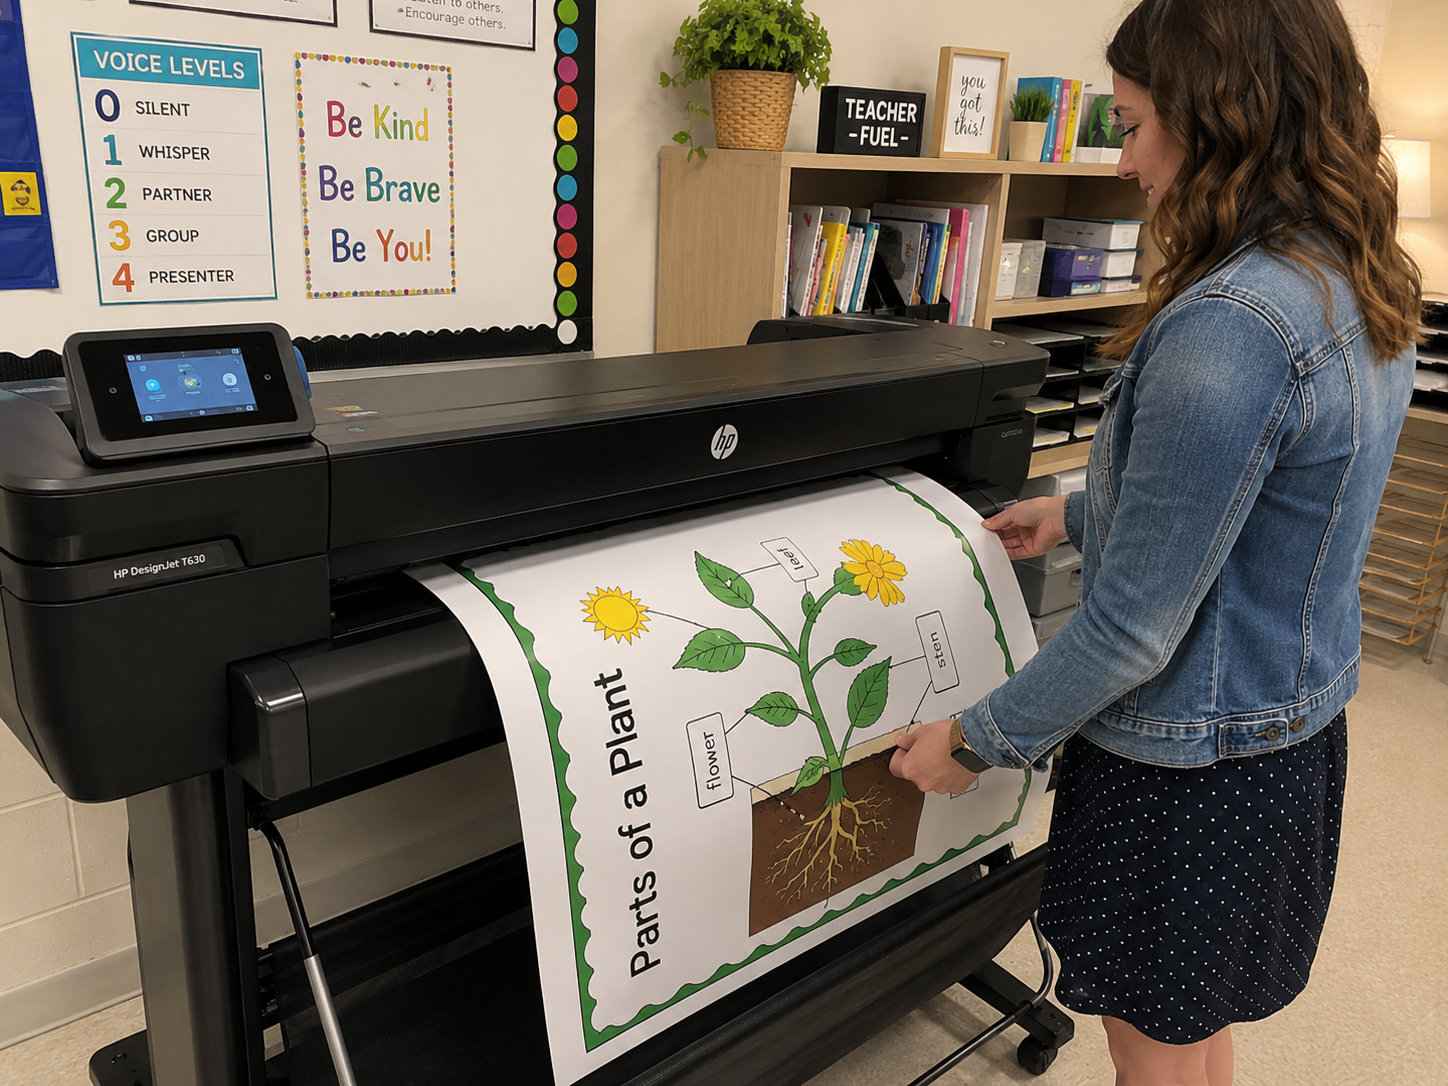
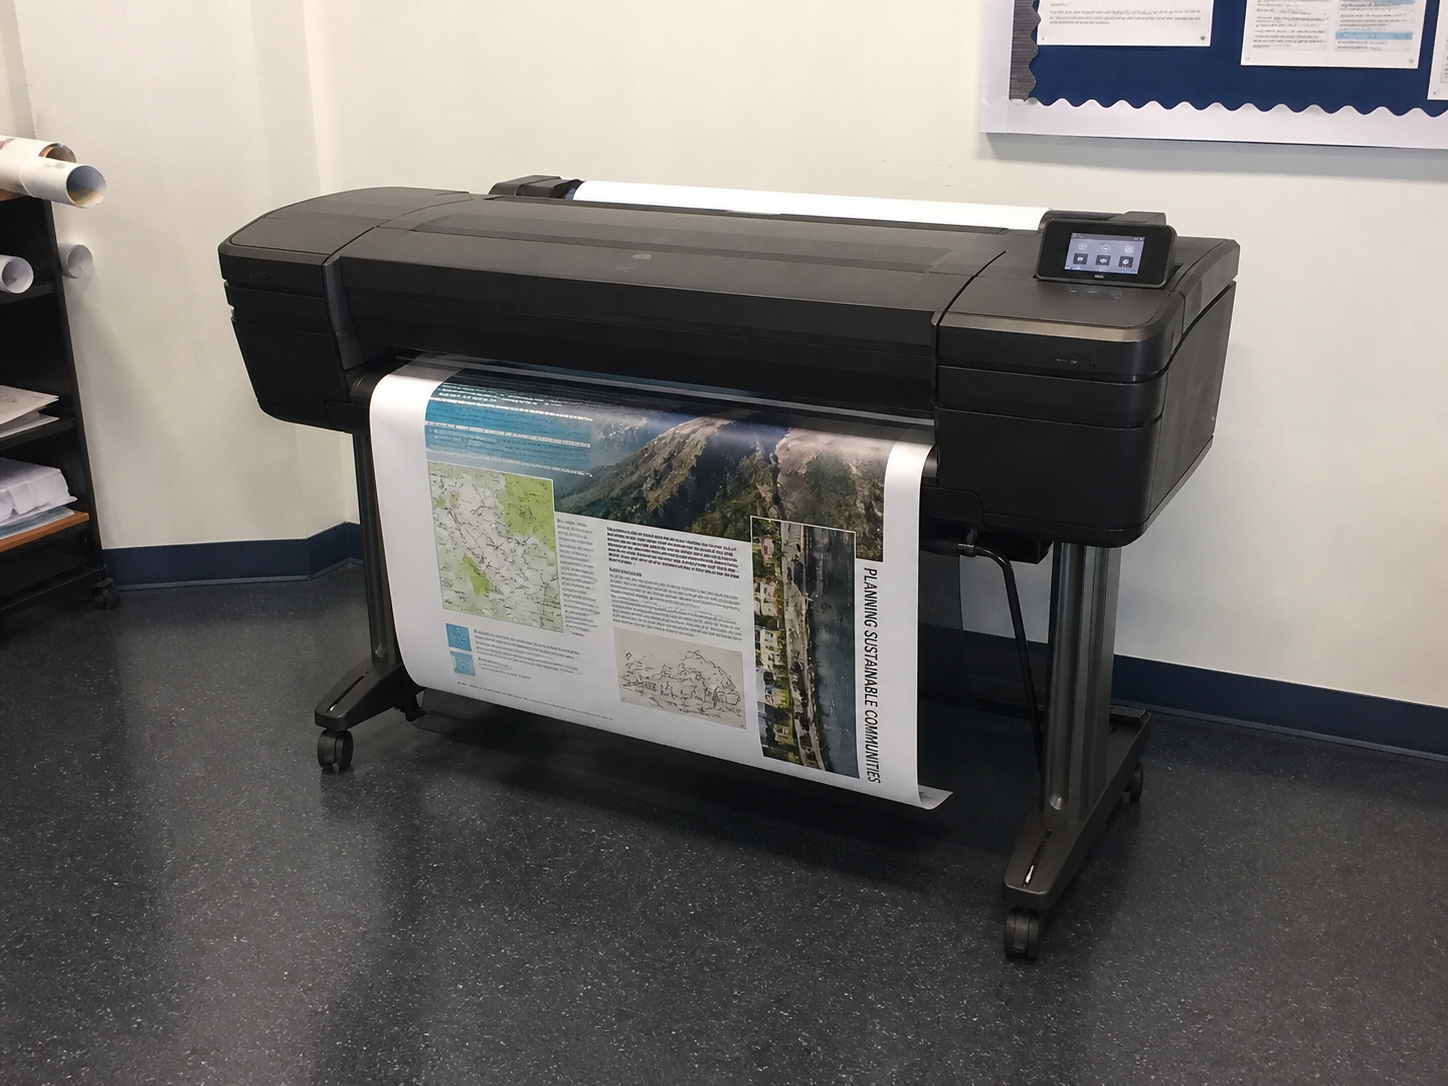
3. HP DesignJet T210
Overview: The HP DesignJet T210 is a compact large-format printer designed for both technical and creative applications. https://schoolposterprinters.com/wp-content/uploads/2024/09/HP-DesignJet-T230.pdf
Key Features:
Ideal For: Designers, architects, schools, and small businesses needing a reliable and versatile printer for poster making and other applications. Another option is the HP T630, our favorite.
4. Brother MFC-J6945DW
Overview: The Brother MFC-J6945DW is an all-in-one inkjet printer that balances functionality and print quality.
Key Features:
Ideal For: Small offices and home users looking for a versatile printer capable of handling various tasks, including poster making.
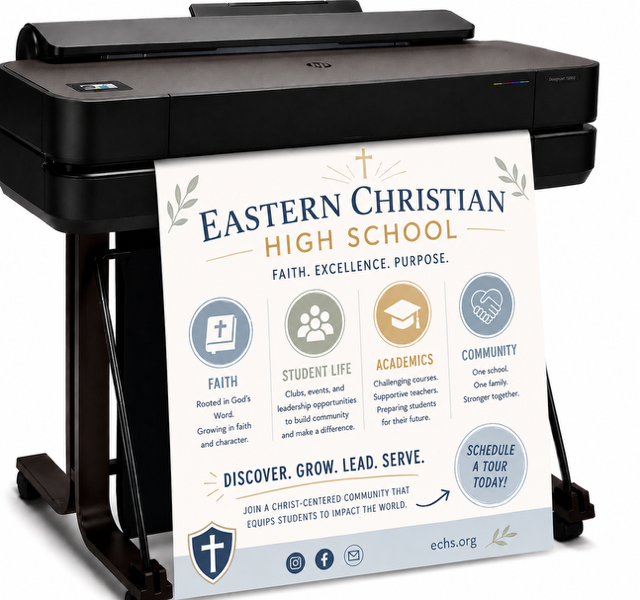
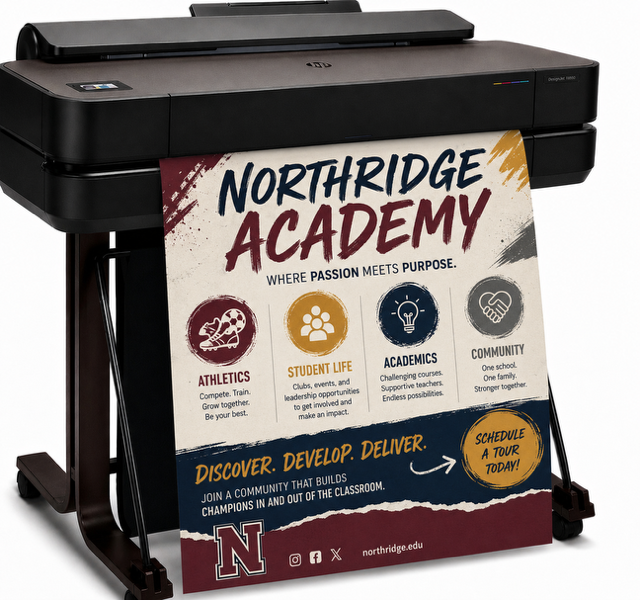
5. Education Graphics Poster Maker
Overview: The Education Graphics Poster Maker is a professional-grade poster printer machine designed specifically for schools, delivering fast, vibrant, large-format prints that enhance classroom learning and visual communication.
Key Features:
Space-Saving Design: Built for real school environments, this poster printer machine features a compact, all-in-one footprint that fits comfortably in classrooms, media centers, or administrative offices—without sacrificing large-format output.
Easy Connectivity: Seamlessly connect via Wi-Fi or direct network integration, allowing teachers and staff to print from laptops, desktops, or design platforms like Canva with minimal setup or IT support.
Media Flexibility: Designed to handle a wide range of materials, including poster paper, banner rolls, and specialty media—giving schools the ability to create everything from classroom visuals to hallway displays with one reliable poster printer machine.
Ideal For: K–12 schools, districts, and educators seeking a proven, reliable poster printer machine for producing high-quality classroom visuals, hallway displays, and school-wide communications in-house. Backed by the real-world experience of Education Graphic Solutions—supporting schools since 2003—this solution helps reduce outsourcing costs, improve turnaround time, and ensure consistent, professional results across campus.
Additional Considerations When Choosing a Poster Printer
1. Cost of Ink and Maintenance
The cost of replacement ink cartridges can vary significantly between models. Some printers have high-yield options that can reduce the cost per print, making them more economical in the long run. Research the average costs of consumables to ensure you choose a model that fits your budget, especially if you plan to use your poster printer frequently. It can add up quickly.
2. Media Compatibility
Consider the types of media you’ll be using. Not all printers can handle specialty papers like canvas or glossy photo paper. Ensure the printer you choose can accommodate the materials you need for your projects, allowing for the diverse styles of posters you may want to create.
3. Print Speed
If you plan to produce large quantities of posters or other prints, look into the print speed specifications. Some printers offer faster print options, which can save you time during busy projects, especially if you’re printing event posters or promotional materials.
4. Warranty and Support
Check the warranty and support options for the printer. A longer warranty and good customer service can provide peace of mind, especially for more expensive models. Reliable support is particularly important for those using the printer in a business setting, where downtime can affect productivity.
5. Software Integration
Make sure the poster printer you choose works well with design software like Canva. Many printers now offer plugins or direct printing options that allow you to send your designs from your computer or mobile device straight to the printer, streamlining your workflow. https://www.canva.com
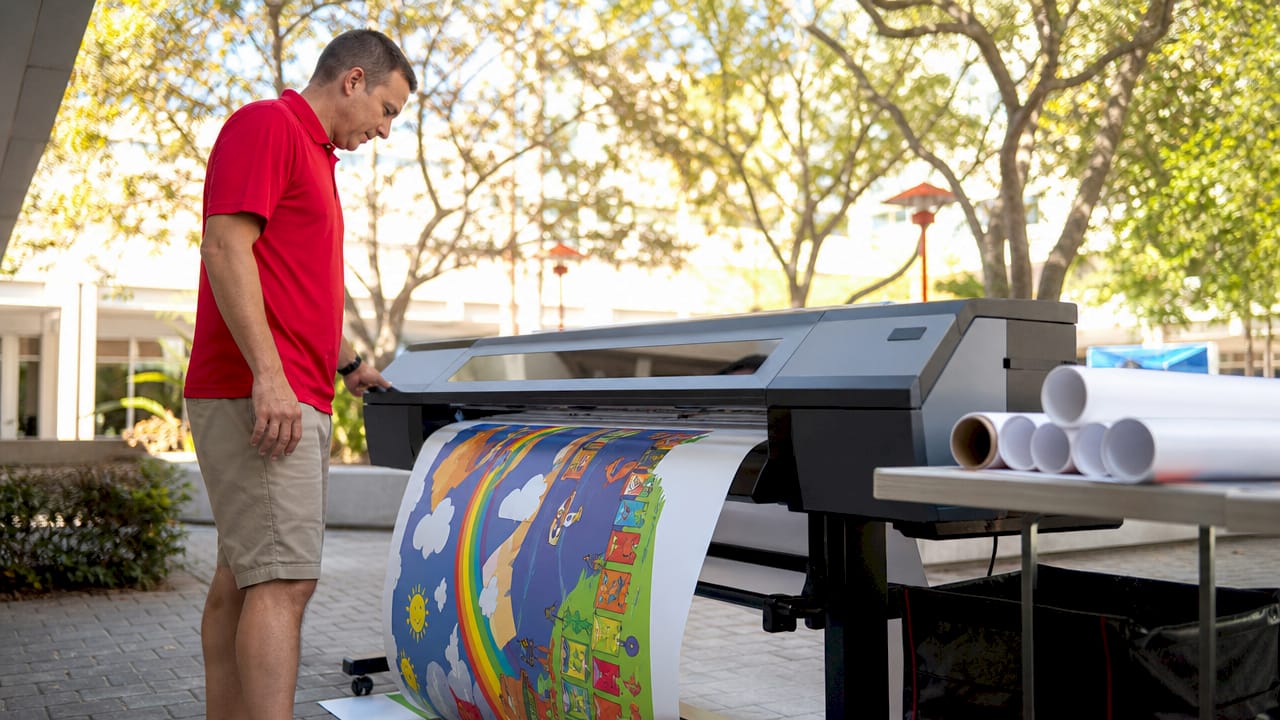
Choosing the best poster printer is an essential task that requires careful consideration of your specific needs and preferences. The right poster printer can significantly enhance your ability to create high-quality prints, making it an invaluable tool for various users, from professional photographers and artists to small business owners and hobbyists. Each of the models discussed in this guide offers unique features and benefits tailored to different applications, ensuring that there’s a suitable option for everyone. 1-click printing from anywhere is the standard. Poster Printer Supplies are easier than ever to source.
Understanding Your Needs
When evaluating your options, it’s crucial to identify what you want from a poster-making machine. Are you looking for vibrant colors that capture the essence of your artwork? Do you need to print large-format designs for a marketing campaign? Understanding your primary use case will guide you in selecting the best poster printer that meets your expectations.
Professional Photographers and Artists: For those in the creative industry, a high-quality poster printer is essential. The right poster-making machine can deliver stunning color accuracy and detail, allowing photographers and artists to showcase their work in the best light. A printer that supports various media types, including glossy paper and canvas, is a must-have for creating gallery-quality prints.
Small Business Owners and Educators: If you’re a small business owner, a reliable poster printer can be a game-changer. It allows you to create vibrant marketing materials, promotional posters, and event signage in-house, saving time and costs associated with outsourcing printing jobs. A versatile poster-making machine can help you adapt quickly to changing marketing needs, making it easier to promote your products and services.
Hobbyists and DIY Creatives: For hobbyists, the best poster printer can transform your creative ideas into tangible results. Whether you’re crafting personalized gifts, organizing events, or creating art for your home, a user-friendly poster-making machine can bring your visions to life. Look for models that are easy to set up and operate, allowing you to focus on your creativity rather than technical challenges.
Making an Informed Decision
By weighing the options outlined in this guide, you can make a more informed decision that will enhance your printing capabilities. It’s not just about choosing any poster printer machine; it’s about selecting the right one that aligns with your goals and workflow. Consider factors such as print quality, media compatibility, connectivity options, and ongoing maintenance costs. Each of these elements plays a crucial role in determining how effectively a poster making machine can meet your needs.
Transforming Designs with Poster Printers
A high-quality poster printer combined with an intuitive design platform like Canva streamlines your creative workflow from concept to print. Canva enables users of all skill levels to create professional-grade visuals, while a reliable poster printer ensures sharp, high-resolution output every time. This efficient design-to-print process is ideal for businesses, event organizers, and creatives who need consistent, polished results. By integrating easy-to-use design tools with dependable printing, you can produce impactful posters that enhance brand visibility and presentation quality across any setting.
Conclusion
The right poster printer machine is a valuable tool for any designer. Choosing one that fits your needs helps unlock new creative and business opportunities, whether you’re producing gallery-quality prints or professional marketing materials.
With in-house, high-quality printing, your work not only looks better but makes a stronger impact. Take time to compare options and pair your printer with tools like Canva to create visuals that reflect your creativity and professionalism—making every project more impressive and effective.
https://schoolposterprinters.com
Resources:
Why Visual Learning Is Important In Schools