Whether it’s a science fair board due Friday, a book fair announcement for the front hallway, or a set of classroom rules for the first day of school, every great poster is built the same way. You decide what it needs to say, pick the right size, make the most important words big enough to read from across the room, and print it so it lasts. This guide walks you through each step, with free templates, size and font charts, and tool-by-tool instructions for Canva, Google Slides, PowerPoint and Word.
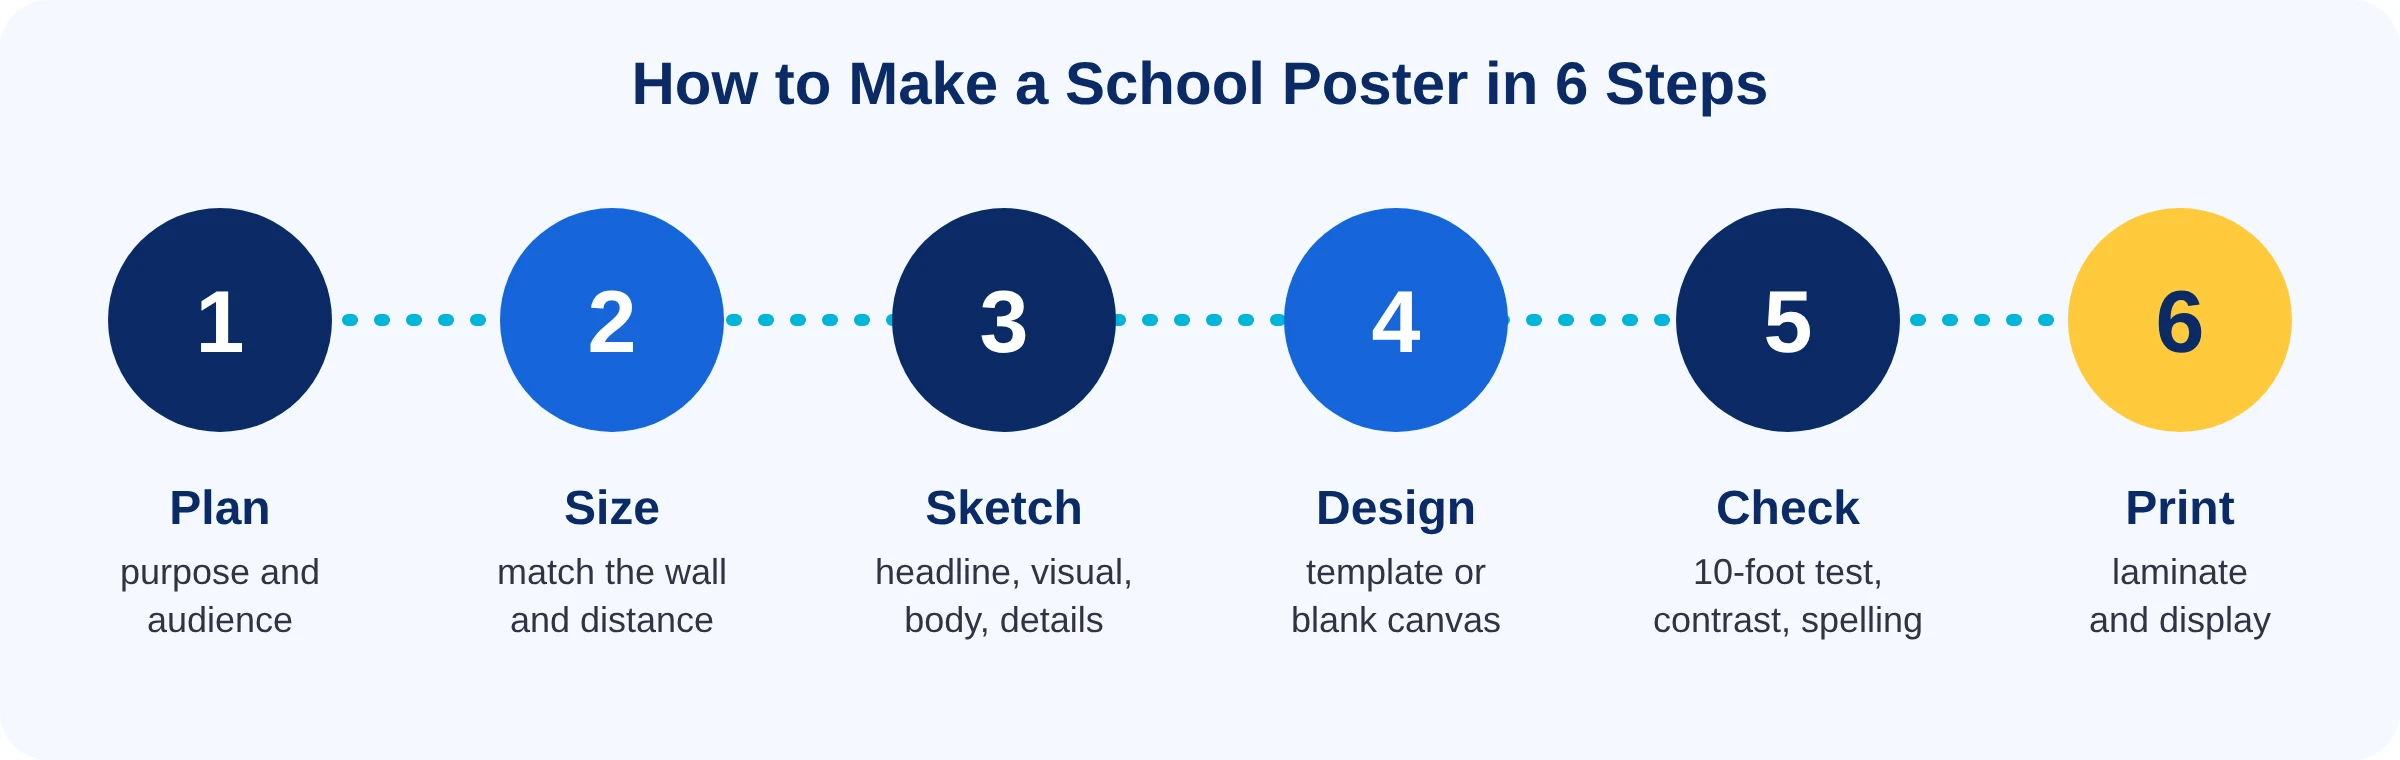
- Decide the purpose and audience, and write your message in 3 to 7 words.
- Pick a size (18×24 for a classroom wall, 24×36 for a hallway).
- Sketch a layout: headline, one main visual, short body, details.
- Design it in a free tool or start from a free school poster template.
- Check it from 10 feet away for size, contrast and spelling.
- Print, laminate if it needs to last, and hang it at eye level.
1. Start with the purpose and the audience
Before you open any app, answer three questions on a sticky note:
- What should someone do or know after seeing it? Come to the book fair, wear goggles in the lab, understand photosynthesis.
- Who is reading it? Kindergartners need big pictures and very few words. High schoolers and parents can handle more detail. Judges at a science fair will read closely; students rushing to class will give it two seconds.
- Where will it hang, and how far away will people be? A desk-height project board is read from 3 feet. A hallway poster is read from 10 to 20 feet.
Then write your core message in 3 to 7 words. “Book Fair: Oct 14–18 in the Library” beats a paragraph every time. If you work in a school office, your poster may also need sign-off before it goes up. Our school poster request and approval workflow shows a simple way to handle that.
2. Choose the right poster size
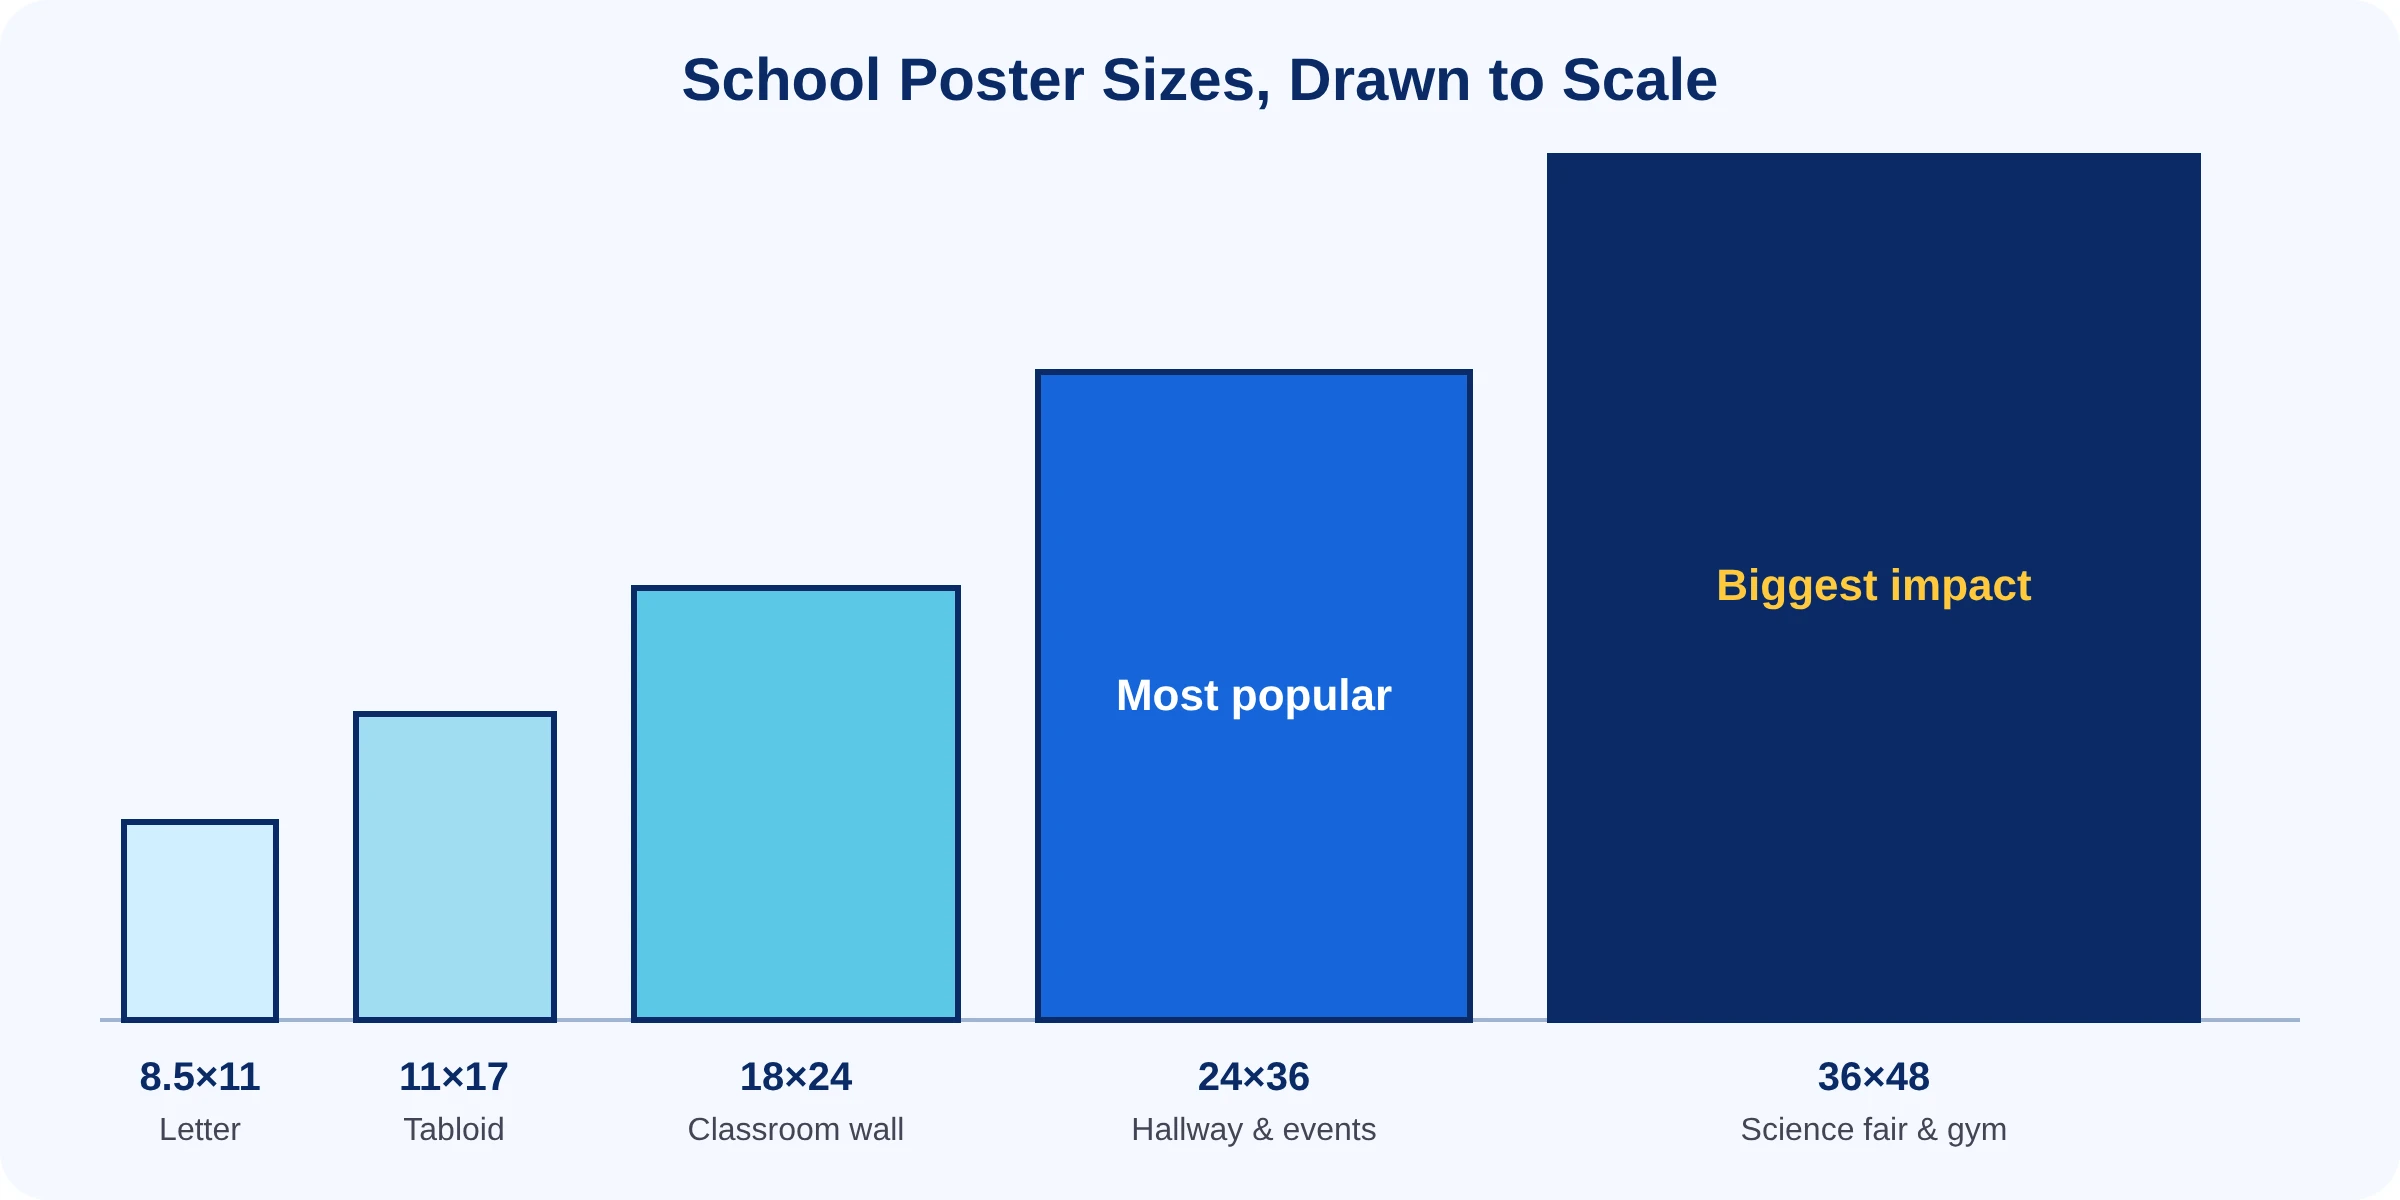
Size decides everything else, from how big your fonts must be to how you’ll print it. Here are the sizes you’ll see most at school:
| Size (inches) | Common name | Best for | Pixels at 150 PPI |
|---|---|---|---|
| 8.5 × 11 | Letter | Flyers, desk signs, handouts | 1275 × 1650 |
| 11 × 17 | Tabloid | Bulletin board accents, door signs | 1650 × 2550 |
| 18 × 24 | Small poster | Classroom walls, anchor charts | 2700 × 3600 |
| 22 × 28 | Poster board | Hand-made student projects | 3300 × 4200 |
| 24 × 36 | Standard poster | Hallways, events, cafeterias | 3600 × 5400 |
| 36 × 48 | Large / tri-fold | Science fair boards, banners, gyms | 5400 × 7200 |
Not sure which to pick? Our school poster size guide goes deeper, and if you’re building a display wall, see these bulletin board ideas for sizing around a board.
3. Make it readable from across the room
A widely used rule of thumb for signs is about 1 inch of letter height for every 10 feet of viewing distance. Use it as a minimum for your headline, and go bigger when you can.
| Viewing distance | Where | Min. letter height | Approx. font size |
|---|---|---|---|
| 3 ft | Science fair table, desk | 0.3 in | 30–36 pt (body text) |
| 6 ft | Small group, reading corner | 0.6 in | about 60 pt |
| 10 ft | Classroom wall | 1 in | about 100 pt |
| 20 ft | Hallway, library | 2 in | about 200 pt |
| 30 ft | Cafeteria, gym, stage | 3 in | about 300 pt |
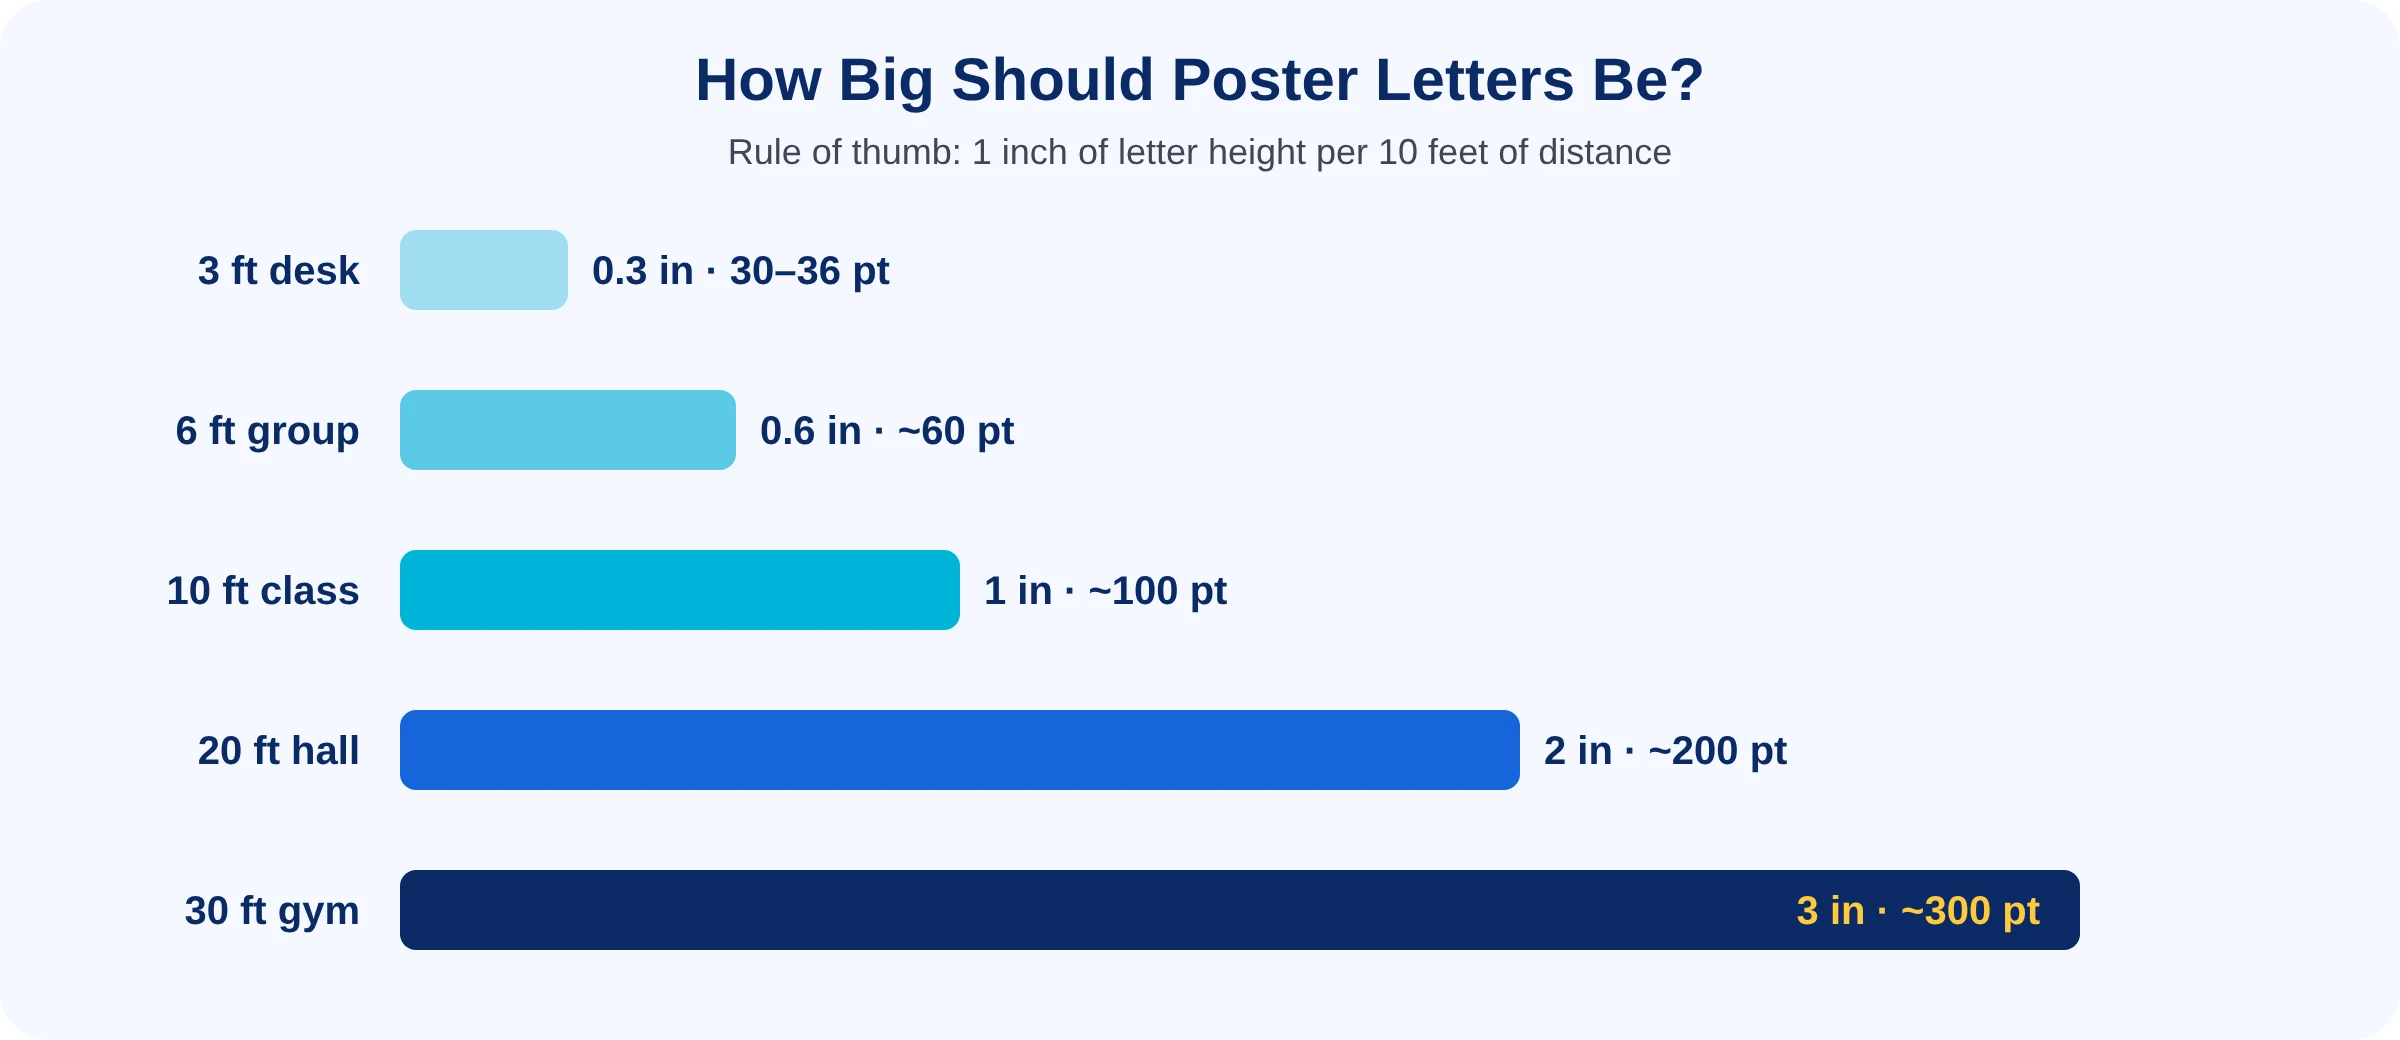
The 10-foot test: print a letter-size proof or put your design full-screen, stand 10 feet back, and see if you can read the headline instantly and the body without squinting. If not, cut words and make them bigger.
4. Layout and visual hierarchy
Visual hierarchy means the most important thing is the biggest, boldest thing. Viewers should know in two seconds what the poster is about. Nearly every effective school poster has the same four parts:
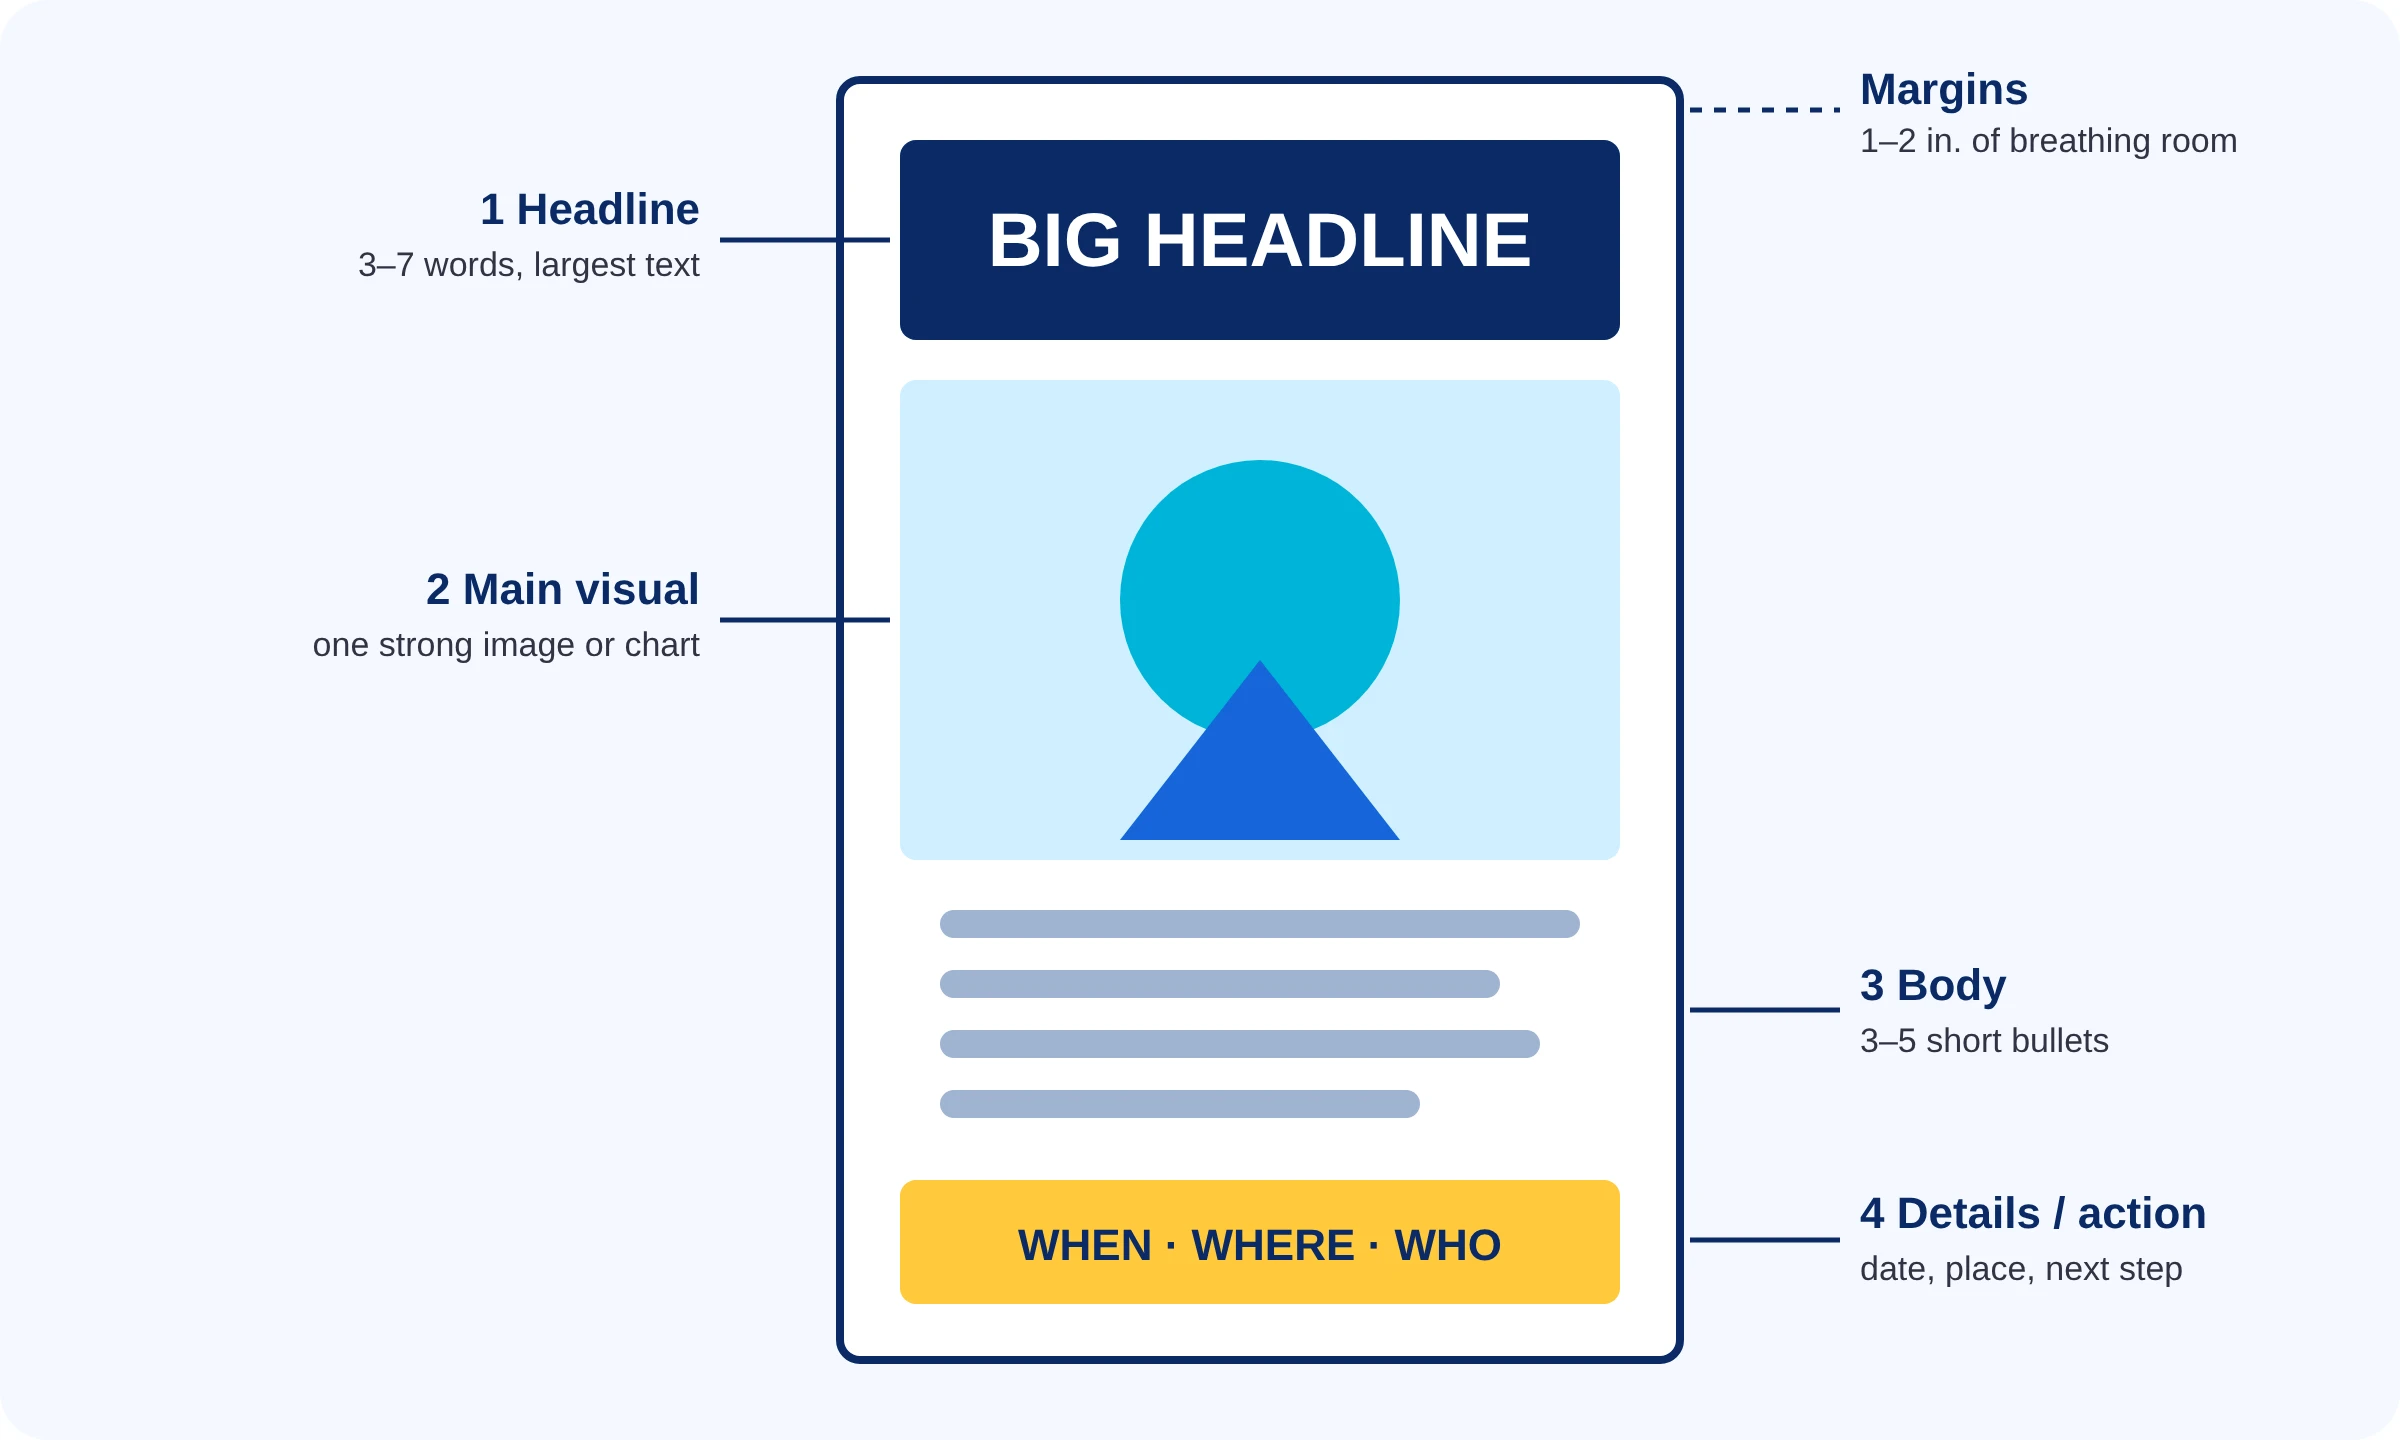
To place those parts, use one of two simple guides. The rule of thirds divides the poster into a 3×3 grid; put the headline and main visual on the lines or where they cross. The Z-pattern follows how eyes naturally scan a page: top left, across to the top right, diagonally down, then across the bottom, which is the perfect spot for your date, place or call to action.
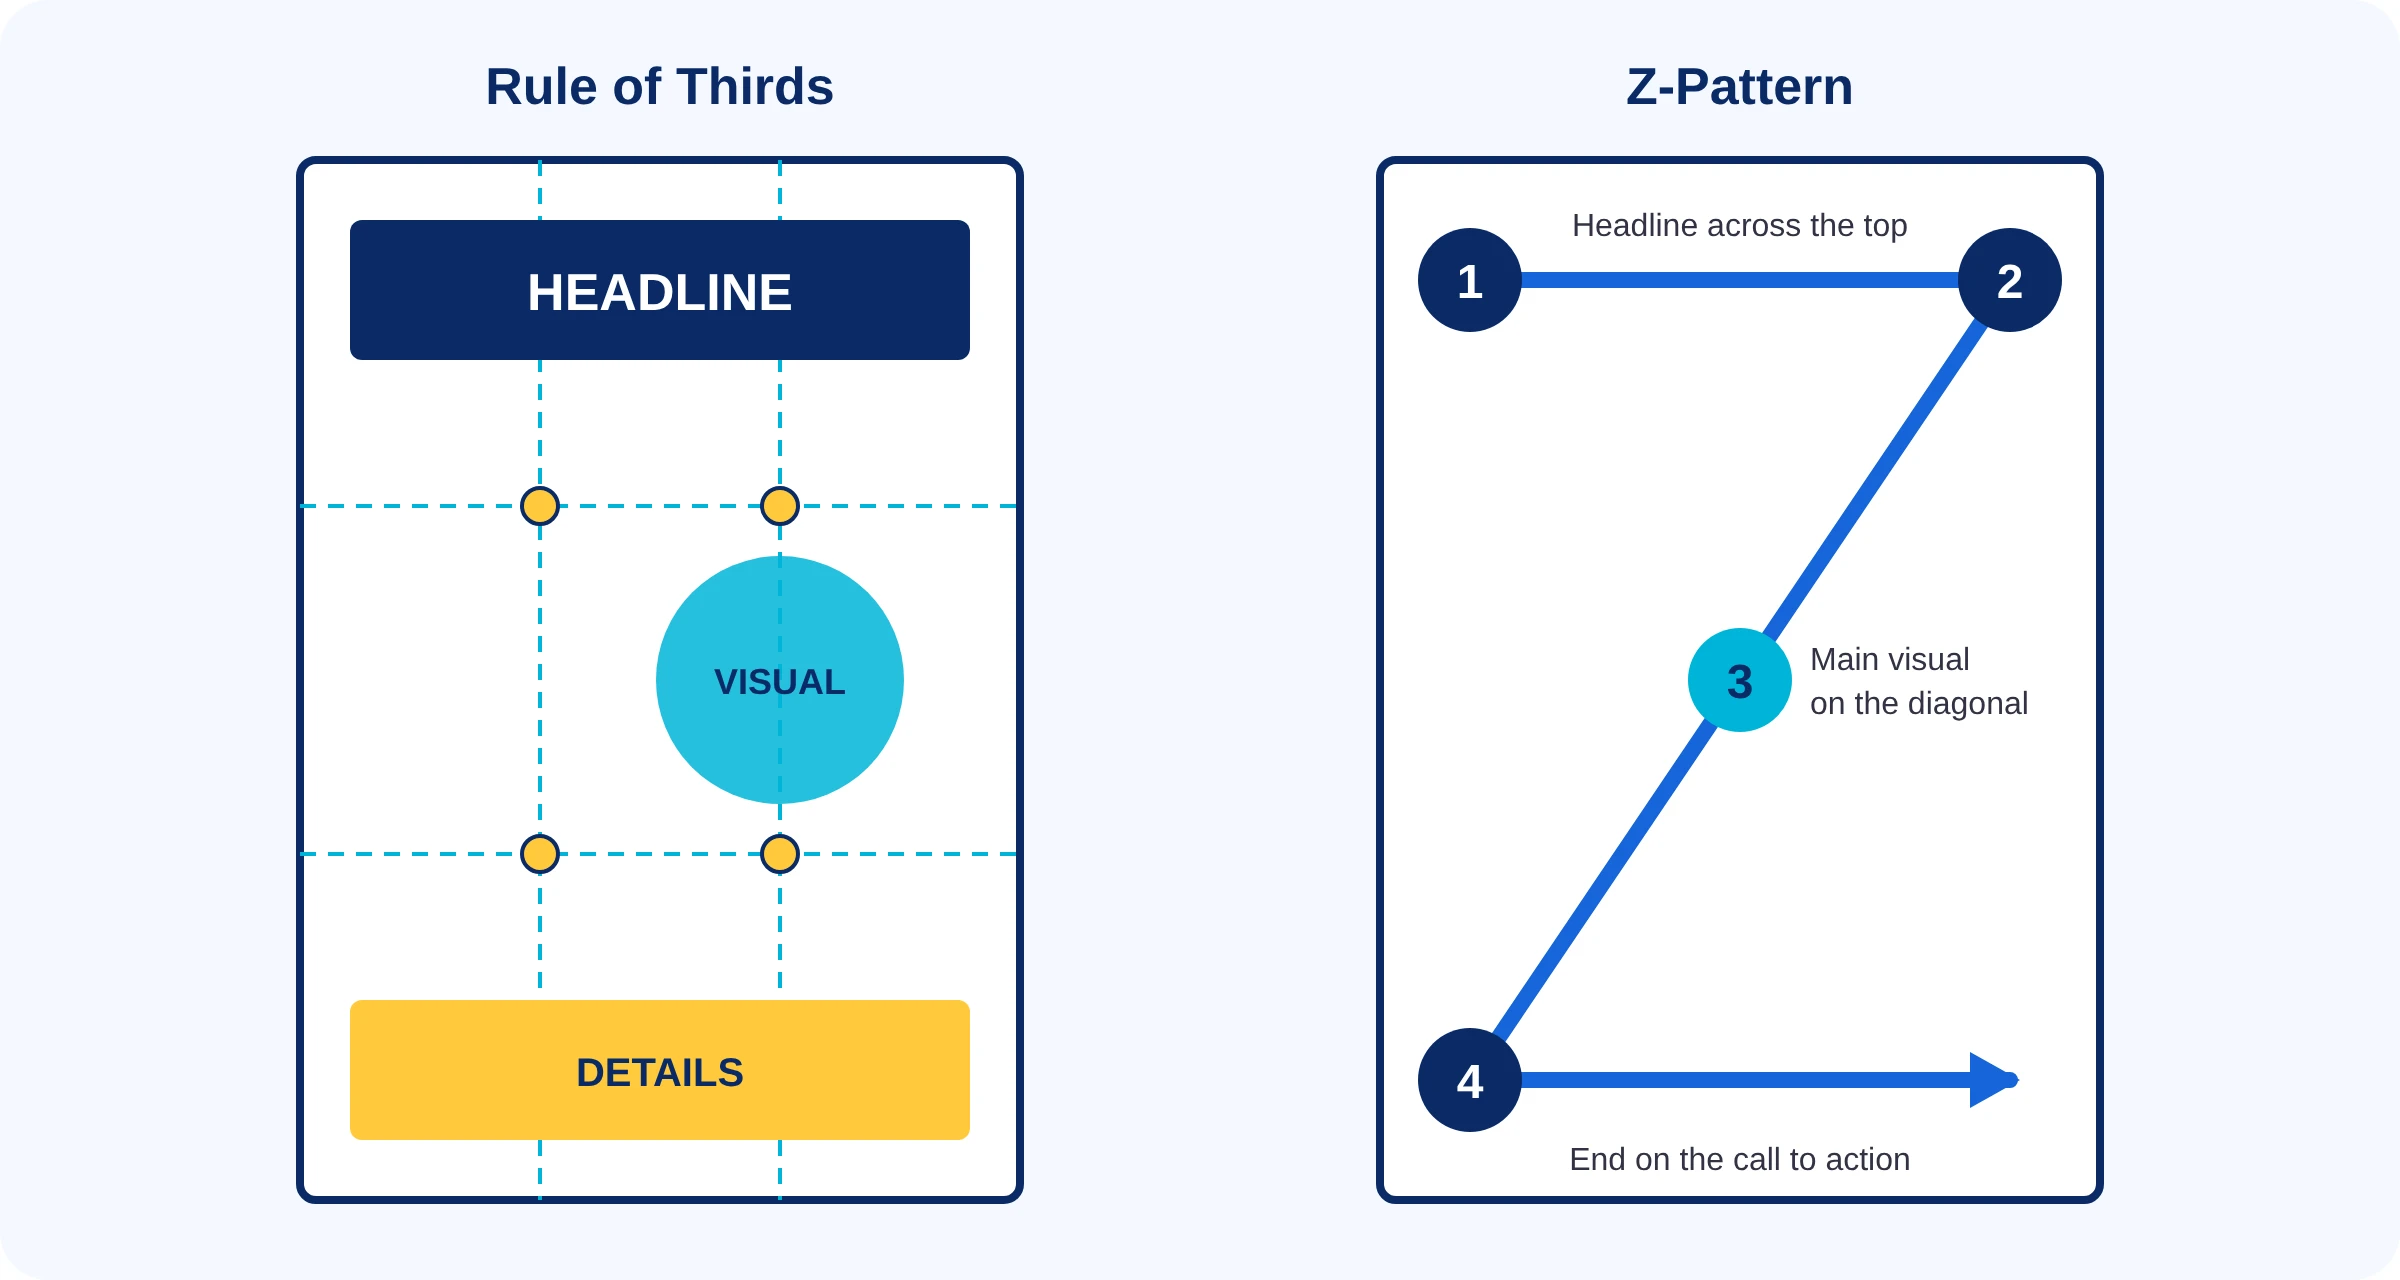

Want a head start on layout? Every one of our free poster templates for teachers already follows this structure, and our guide to choosing and customizing poster templates explains how to adapt them.
5. Color, contrast and fonts
Color. Pick two or three colors and repeat them. Use one bright accent, like yellow or cyan, to point at the single most important thing. Colors also set a mood: blues feel calm and trustworthy, reds and oranges feel urgent. Learn more in the psychology of colors in poster design.
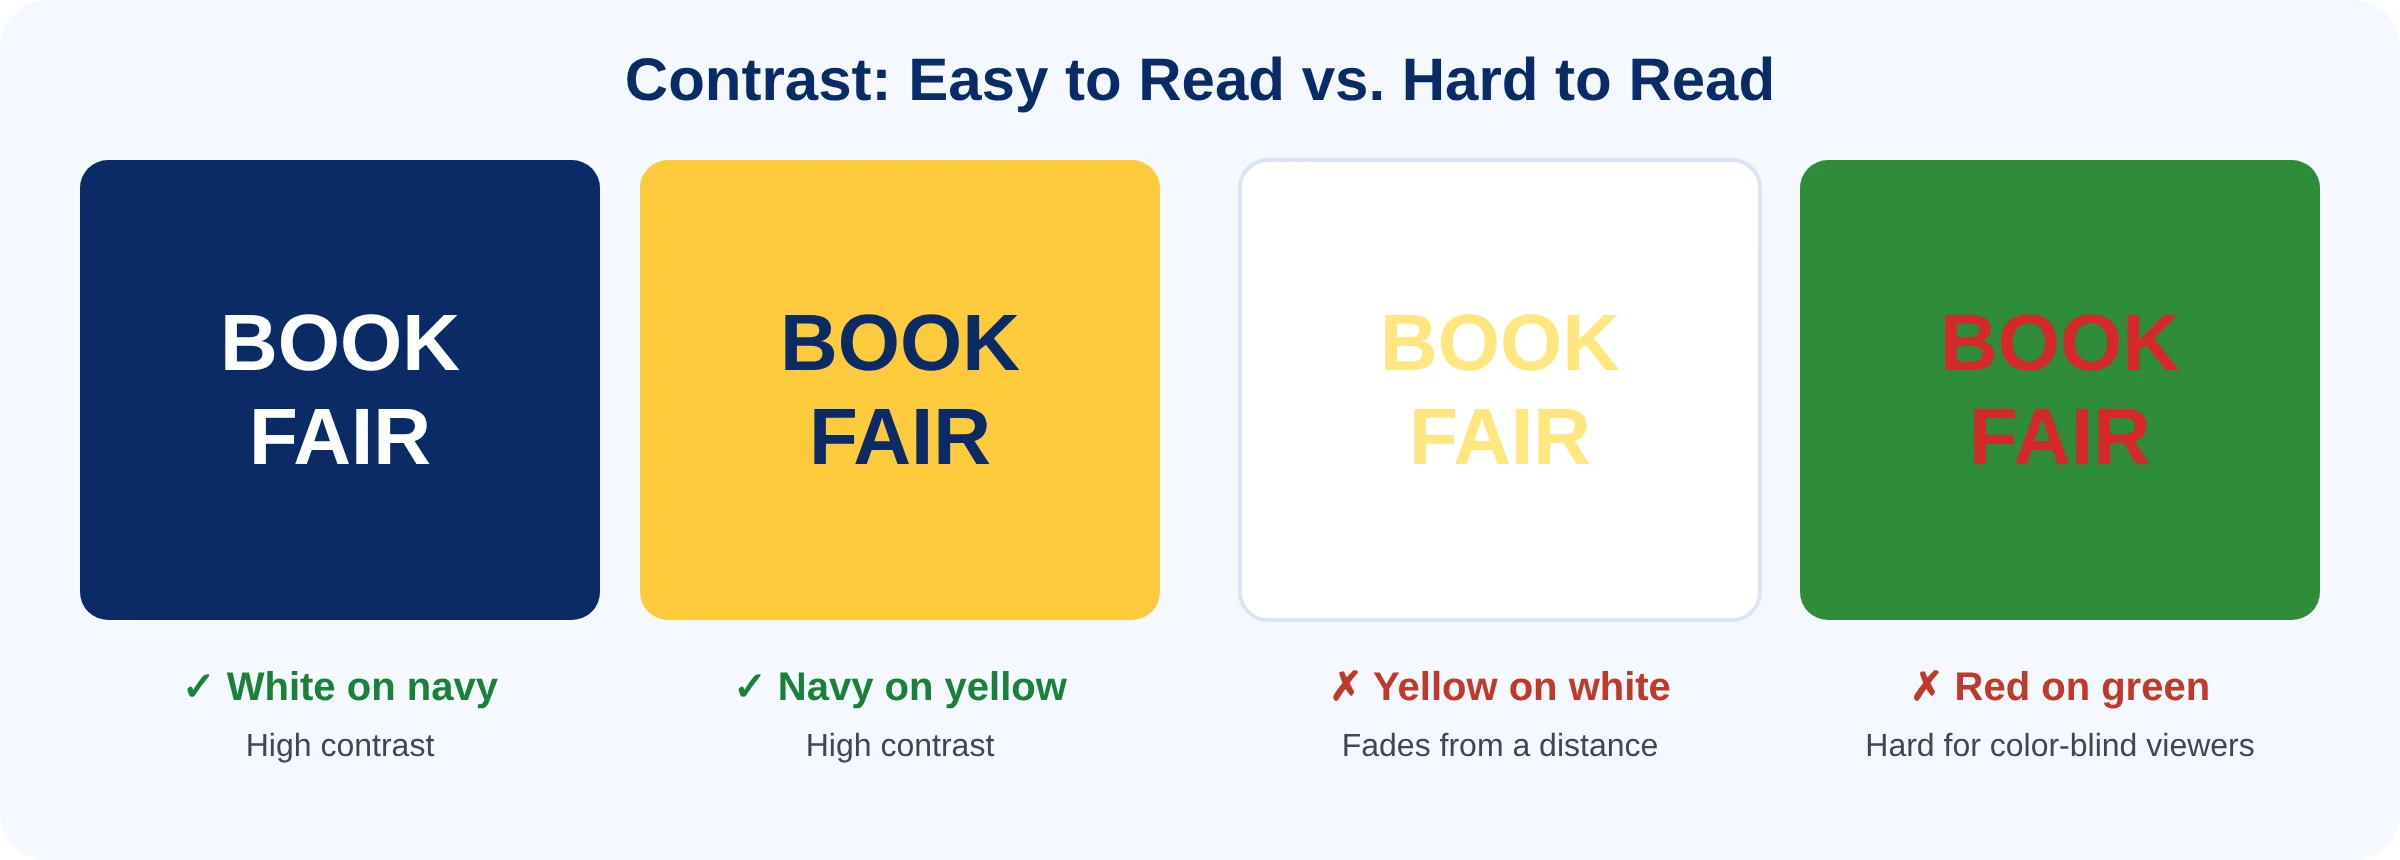
Contrast. Dark text on a light background, or light text on a dark one. Avoid yellow on white, light gray on white, and red on green. For digital and printed text, the W3C contrast guidance recommends a ratio of at least 4.5:1 for regular text, and you can test any two colors with the free WebAIM contrast checker.
Fonts. Use no more than two: a bold, simple font for headlines and a clean, readable font for body text. Sans-serif fonts are easiest to read at a distance. Use sentence case for body text and save ALL CAPS for a short headline. Keep lines short; long lines are hard to read standing up. Decorative and script fonts are fine for one word, never for instructions.
Words. Cut, then cut again. Use short sentences and everyday words; the U.S. government’s plain language guidelines are a great checklist for writing that people actually read.
6. Images and resolution: avoiding blurry posters
A picture that looks sharp on a phone can look fuzzy on a 24×36 poster. The fix is resolution at the final printed size:
- PPI (pixels per inch) is how many image pixels land in each printed inch. For posters viewed from a few feet away, 150 PPI at final size is a solid target; up close, aim for 200–300.
- Do the math: width in inches × PPI = pixels needed. A photo filling 12 inches across at 150 PPI needs to be 1800 pixels wide.
- Never stretch a small image. Enlarging a low-resolution file doesn’t add detail; it just makes the blur bigger. Find a larger original instead.
- Prefer vector art (SVG, PDF, or shapes drawn in your design app) for logos, icons and charts. Vectors stay crisp at any size.
- Use images you have the right to use: your own photos, school-owned art, or free-license libraries. Cite sources on project posters.
For charts and diagrams on STEM posters, our infographics guide for STEM education shows how to turn data into visuals students understand. Getting colors to print the way they look on screen is covered in color management in poster printing.
7. How to make a poster step by step (Canva, Google Slides, PowerPoint, Word)
Any of these free or school-licensed tools can make a great poster. Comparing more options? See our roundup of the best school poster design software.
Start fastest: use a free school poster template
- Browse the poster template library and open the template that fits your event or subject.
- Download the print-ready file at 24×36 or open it in your design tool.
- Replace the placeholder text in brackets with your date, time, location and details.
- Swap in your school colors or logo if you like, keeping the headline big and the contrast high.
- Export a PDF and print at full size.
How to make a poster in Canva
- Click Create a design, choose Custom size, set units to inches, and enter your size (for example 24 × 36).
- Start blank or search the template library, then set your headline first and make it the largest element.
- Add one main image or chart, then 3–5 short bullets and a details strip at the bottom.
- Turn on rulers and margins so nothing important sits within an inch of the edge.
- Download as PDF Print for the sharpest result.
For a screenshot-by-screenshot walkthrough, see our deep dive: Design Classroom Posters with Canva: A Step-by-Step Guide.
How to make a poster in Google Slides
- Open a new presentation and choose File > Page setup > Custom. Switch to inches and enter your poster size (for example 24 × 36 for portrait).
- Delete the default text boxes and use Insert > Text box for your headline. Make it big; on a 24×36 page, a classroom headline should be around 100 pt or more.
- Insert images with Insert > Image; use high-resolution files and resize from the corners so they don’t distort.
- Use Arrange > Align and Distribute to line things up.
- Choose File > Download > PDF document and print the PDF at actual size.
How to make a poster in PowerPoint
- Go to Design > Slide Size > Custom Slide Size and enter your width and height in inches. PowerPoint allows slides up to 56 inches on a side.
- Choose Portrait orientation for most school posters.
- Turn on View > Guides to mark margins and a thirds grid.
- Build headline, visual, body and details. Use Shape Format > Align to keep edges clean.
- Save as PDF (File > Save As > PDF) and print at 100% scale.
How to make a poster in Microsoft Word
- Open Layout > Size > More Paper Sizes and enter a custom size. Word limits page size to 22 inches, so for 24×36 design at half size (12×18) and print scaled to 200%, or use PowerPoint.
- Set narrow margins under Layout > Margins.
- Insert text boxes and pictures, and set picture wrapping to In Front of Text so you can place them freely.
- Group finished elements so they don’t shift.
- Save as PDF and print.
8. School project poster tips
Project posters are judged on content and clarity, so the structure matters even more.
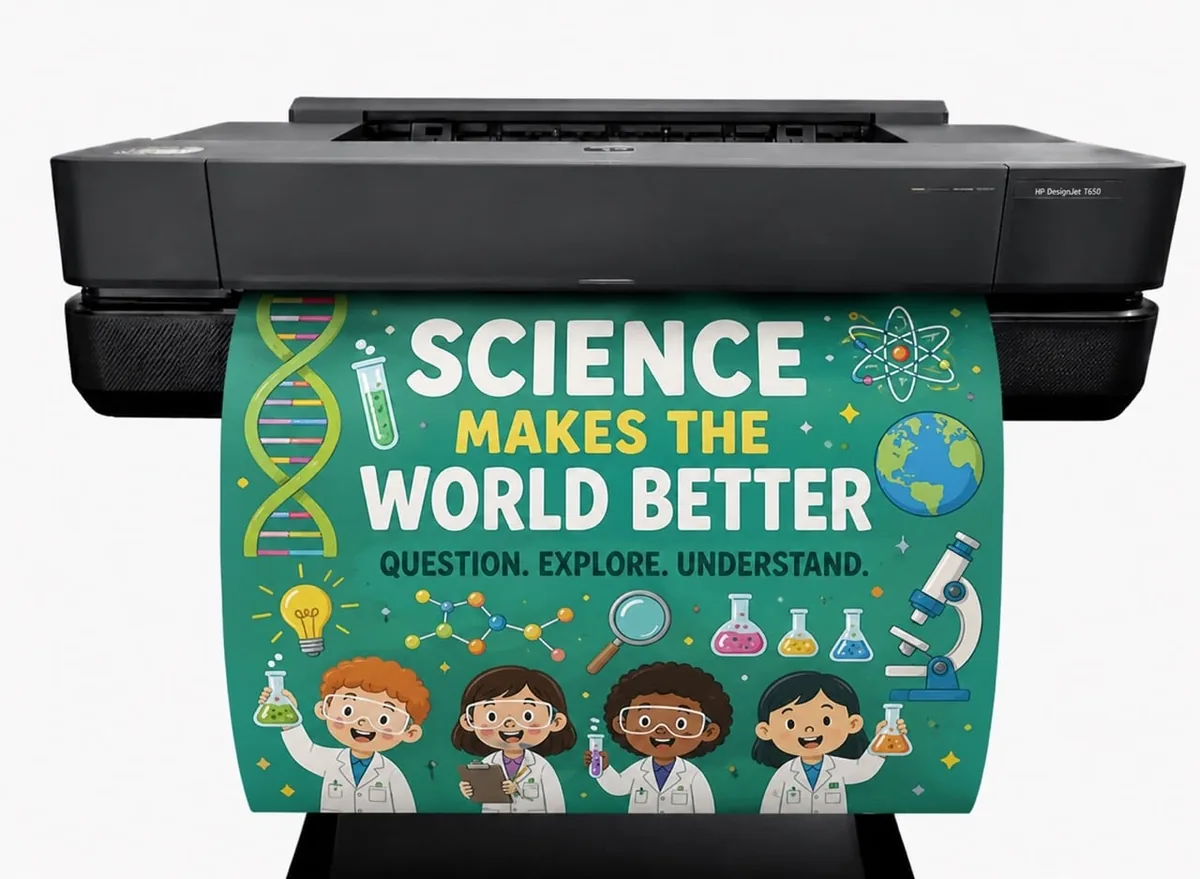
Science fair poster
- Follow the scientific method left to right: Question, Hypothesis, Materials, Procedure, Results, Conclusion.
- Make the results chart the biggest visual. Label axes and units.
- Put your title across the top in letters judges can read from several feet away.
- Check your fair’s size rules; many use a 36×48 tri-fold footprint.
Need a topic first? Try these 8th grade science project ideas. Teachers announcing the event can use the science fair and STEM event poster template, and STEM role-model ideas are in our women in STEM posters guide.
Book report poster
- Lead with the title and author, plus a cover image or your own drawing.
- Use labeled boxes: Characters, Setting, Problem, Solution, Theme, and Your Rating.
- Add one short favorite quote with the page number.
Literacy-focused classrooms will find more ideas in the reading and library poster template and the parts of speech poster.
History or social studies poster
- A timeline across the middle is the clearest structure for events.
- Use primary-source images with captions and dates.
- Include a short “Why it matters today” box.
- List sources in small type at the bottom.
Anchor charts and classroom reference posters
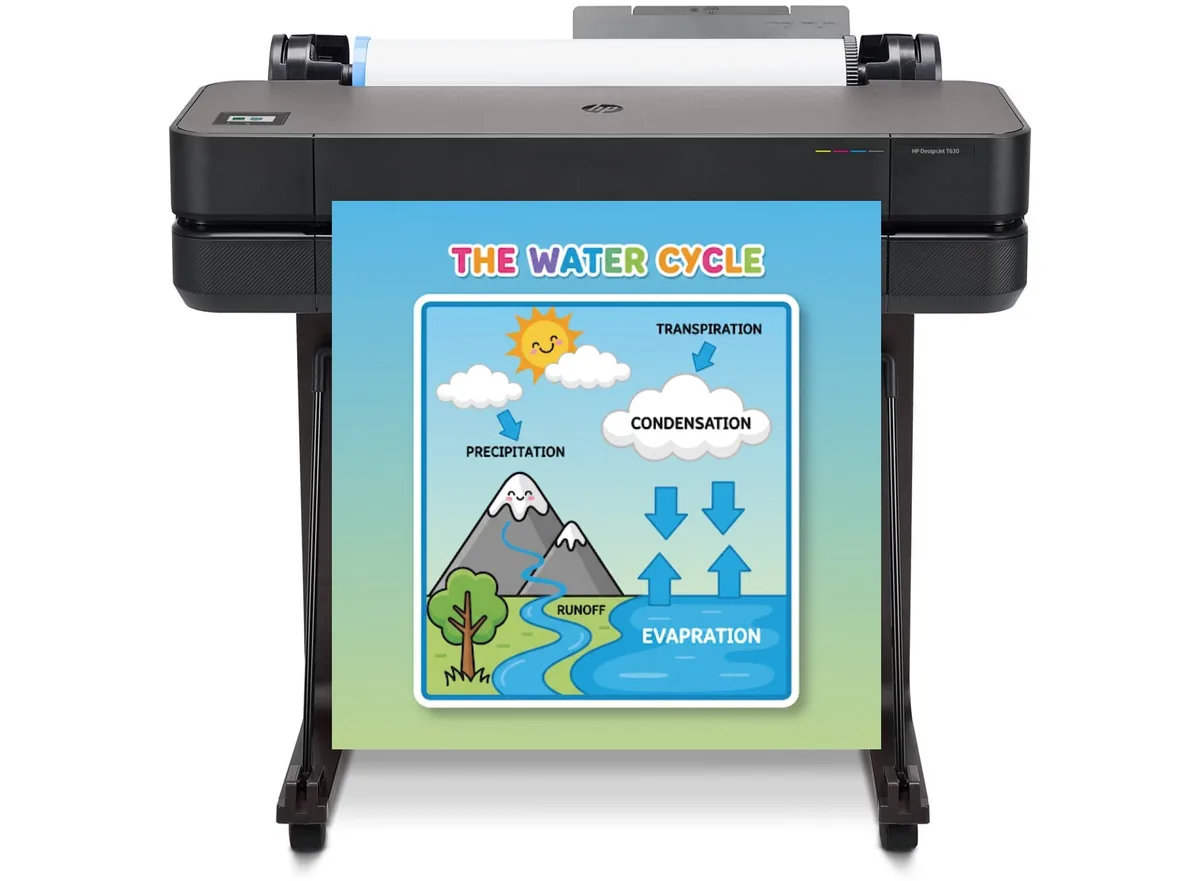
Teachers making reference posters should keep one concept per poster and use icons or color coding students can remember. Our anchor charts guide has examples, and printed charts like the water cycle below stay crisp all year.
9. Accessibility checklist
An accessible poster works for everyone, including students with low vision, color blindness, dyslexia or who are learning English. The W3C’s accessibility design tips are a great reference.
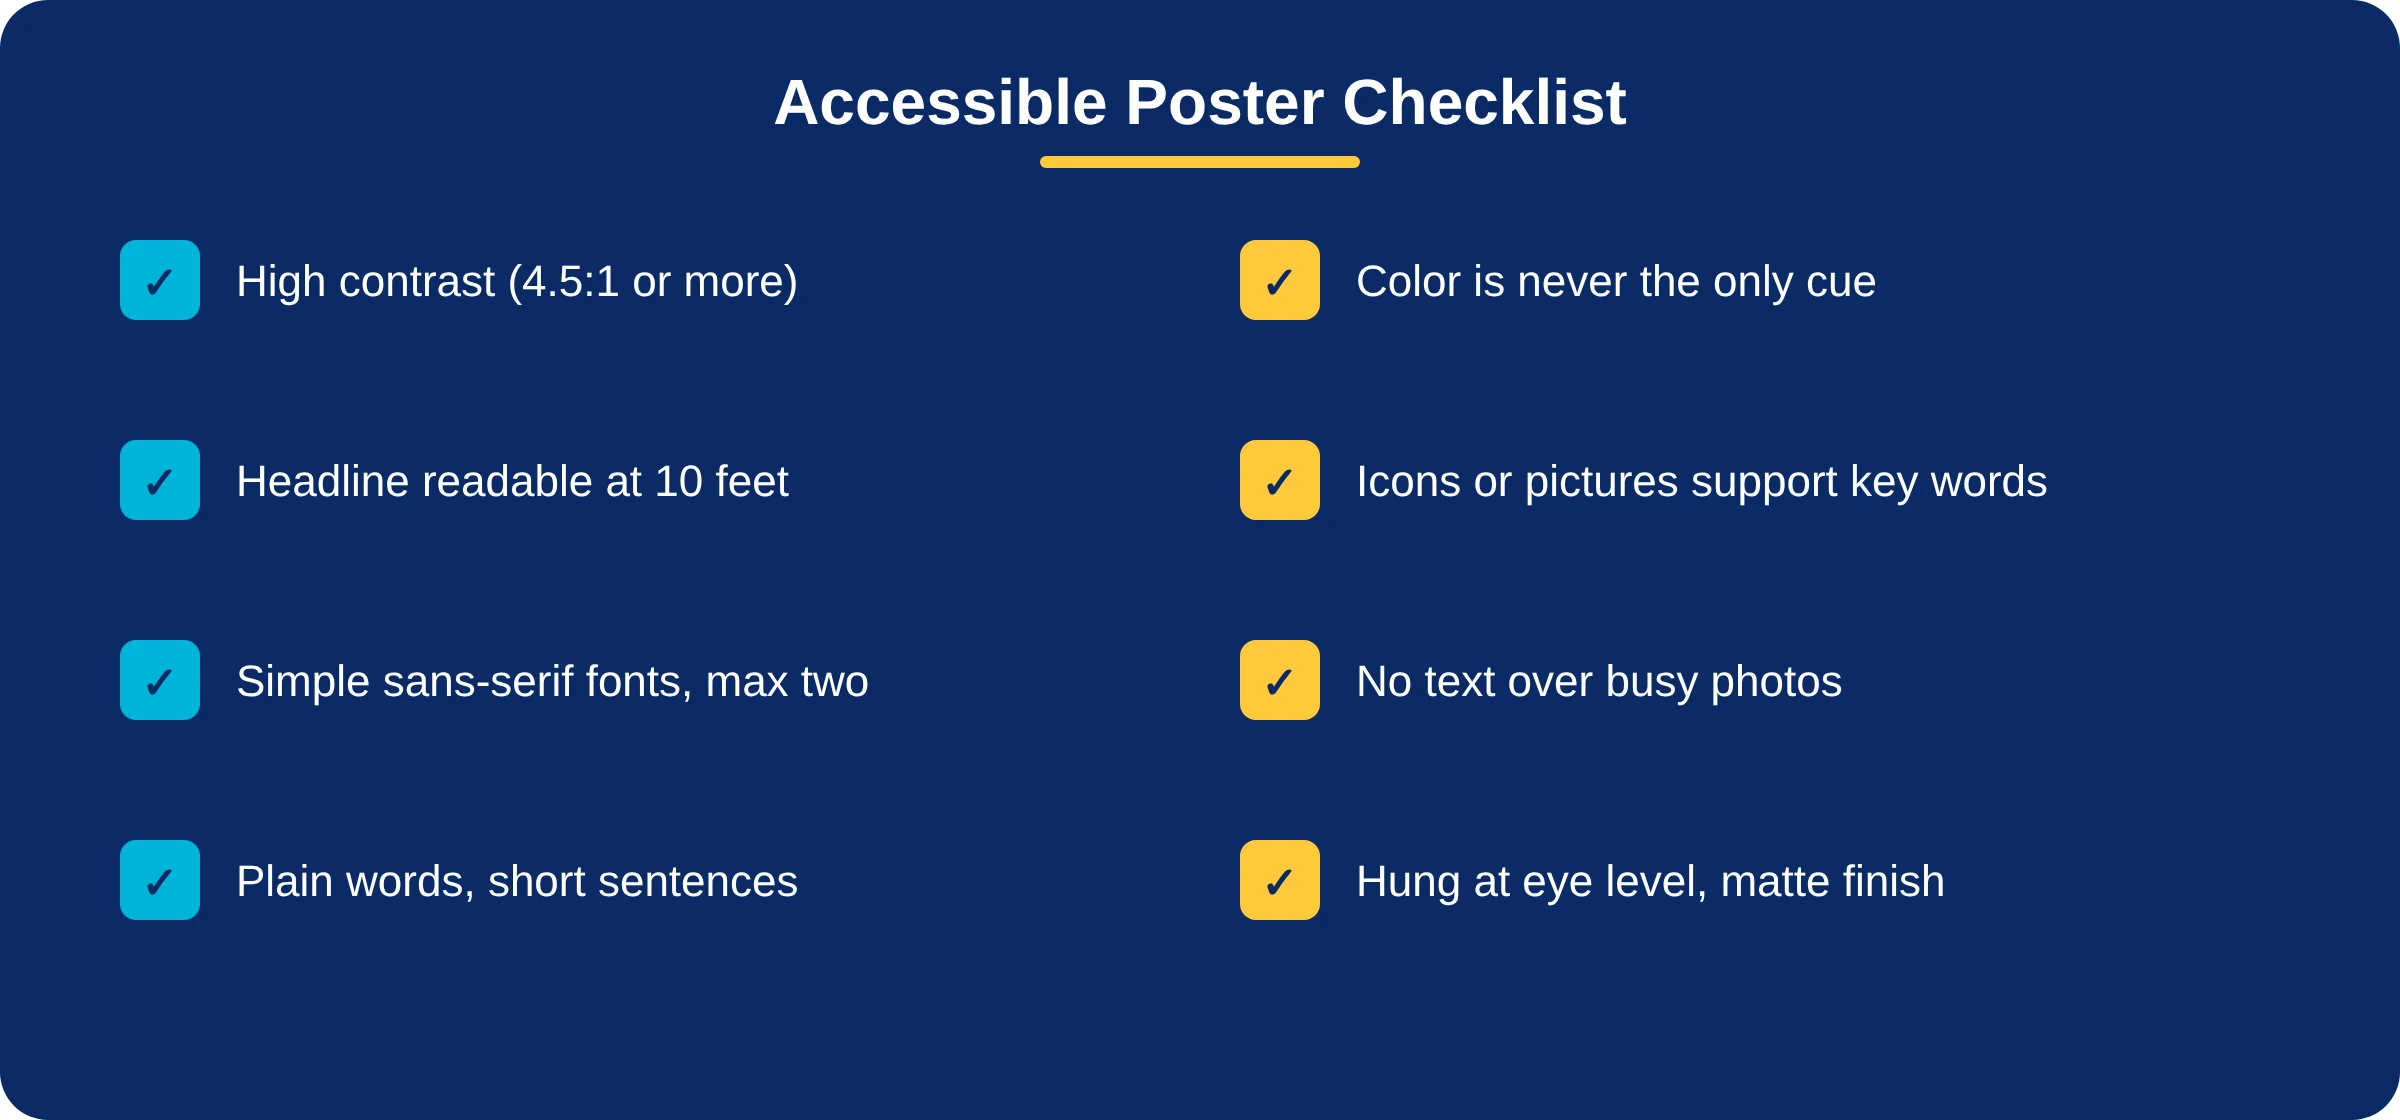
- Text contrast of at least 4.5:1, and larger, bolder text for key info.
- Color is never the only way information is shown (add labels, icons or patterns).
- Left-aligned body text; avoid justified text with uneven gaps.
- Translate key event details for families who speak other languages at home.
- Hang posters with the center around eye level for the people reading them, lower in primary classrooms.
- Choose a matte or low-glare finish so overhead lights don’t wash out the text.
Accessible visuals matter especially in special education; see how posters support special needs education.
10. Printing options: home, print shop or in-house
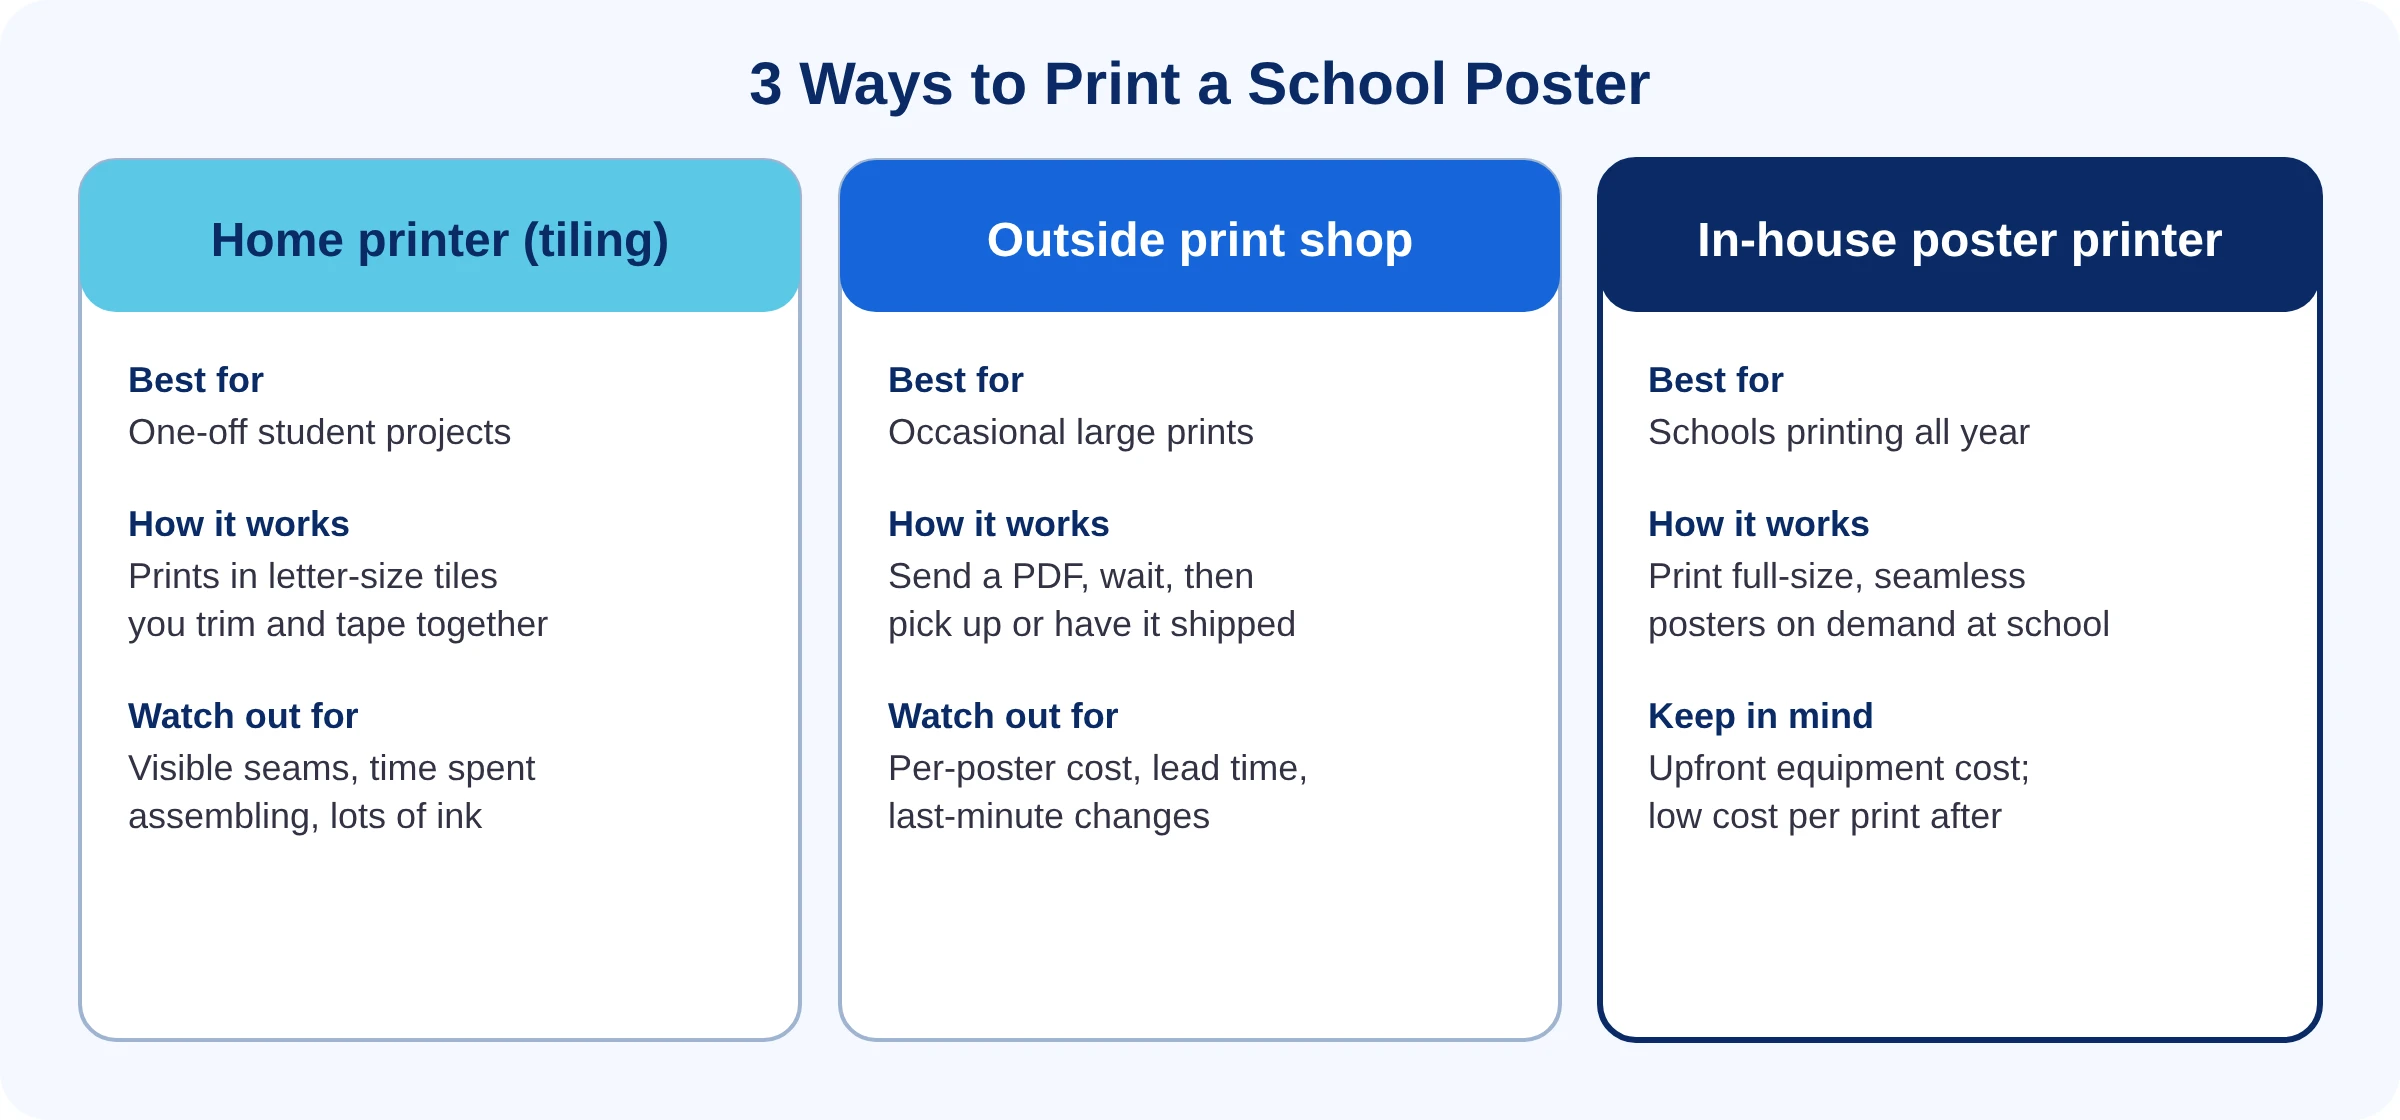
Option 1: Your home or classroom printer (tiling)
Most PDF readers can split a large page across several letter-size sheets. In the print dialog, look for a Poster or Tile option, set a small overlap, print, then trim the white edges and tape the tiles together from the back. It’s free and fine for a one-time project, but seams show and assembly takes time.
Option 2: An outside print shop
Send a PDF at final size with fonts embedded. It works for a one-off, but costs, lead times and changes add up when a school prints posters every week. We break down the real numbers in in-house vs. outsourcing school posters and how much it costs to print posters at school.
Option 3: Your school’s own poster printer
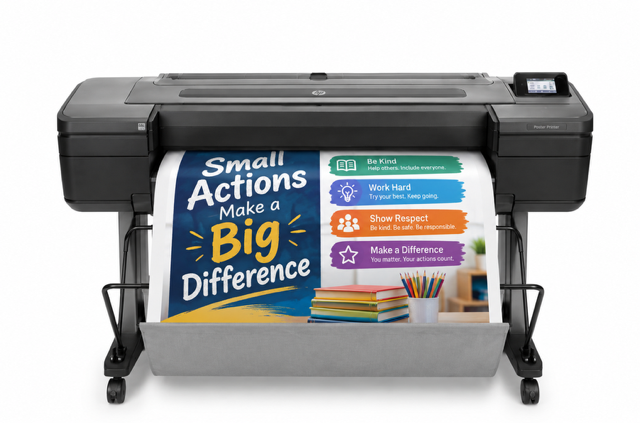
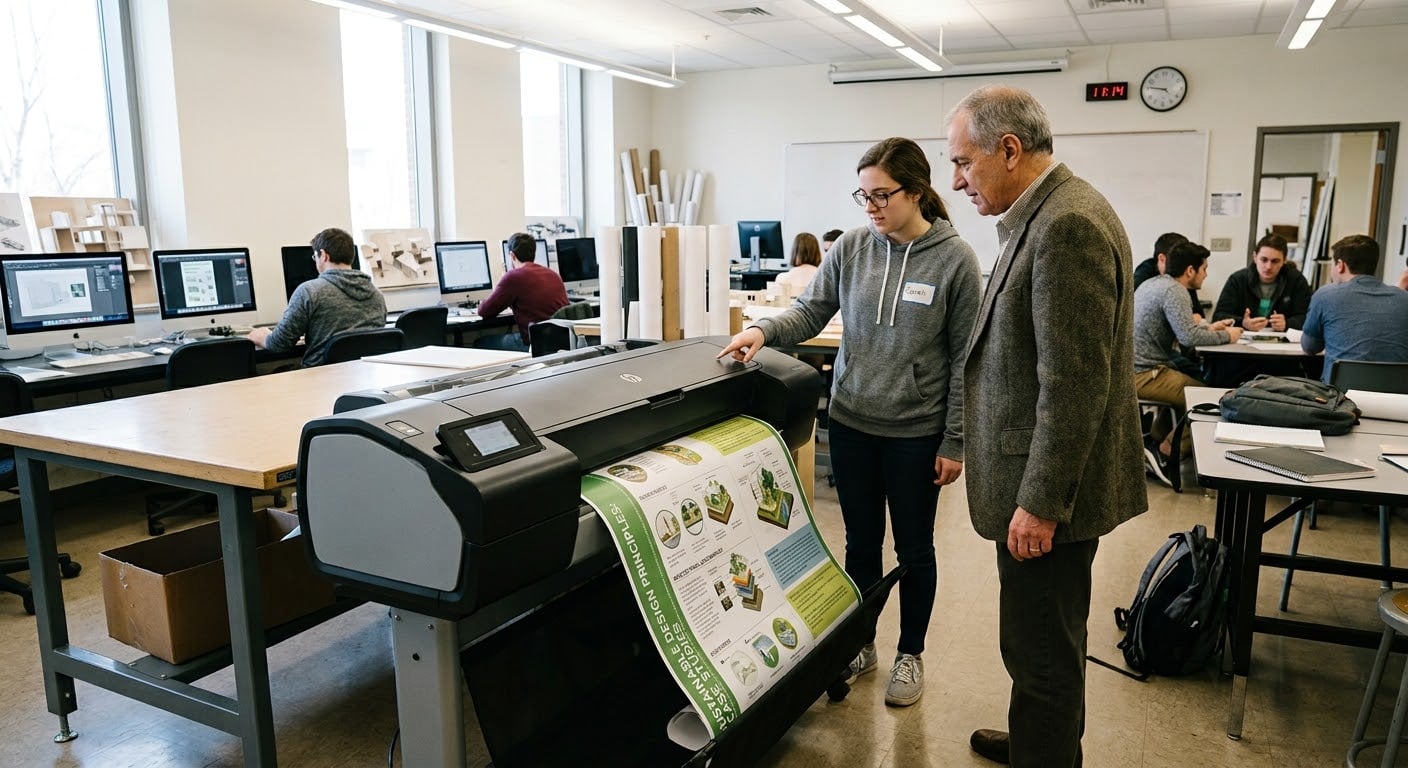
Many schools now print posters in-house so teachers can go from idea to a full-size, seamless poster in minutes, without waiting or paying per order.
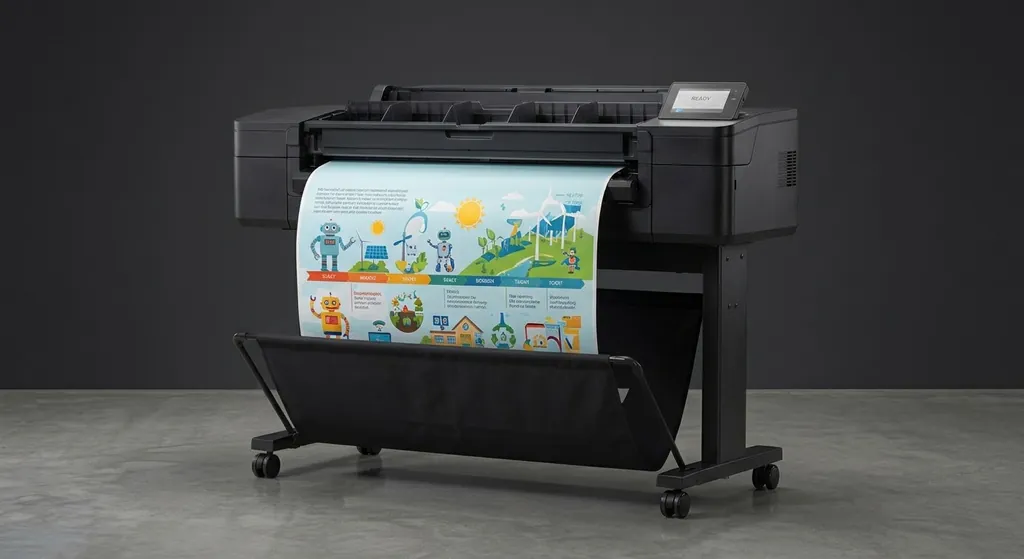
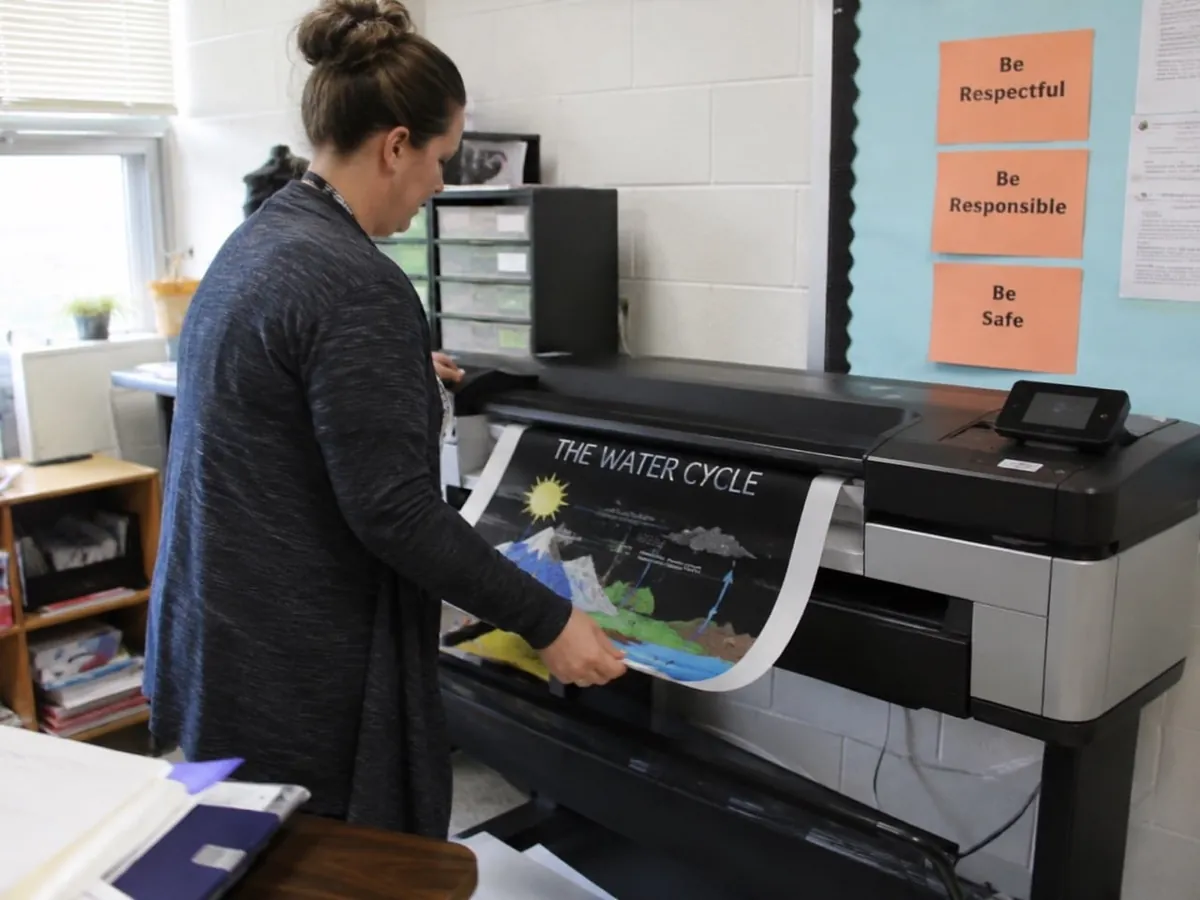
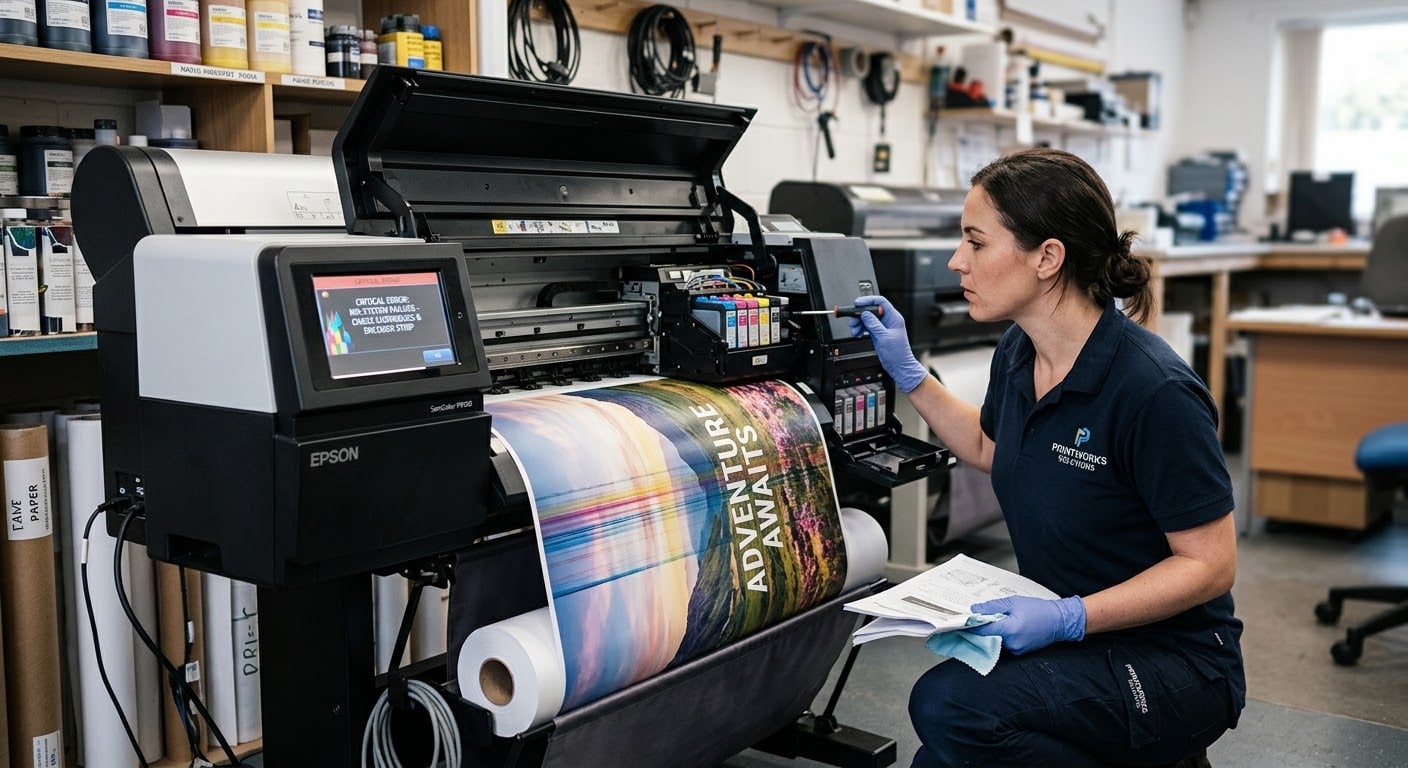
See the 100 ways schools use poster printers, and choose the right paper with our guide to what paper posters are printed on. If a print ever comes out streaky or misaligned, our poster printer troubleshooting guide walks through the fixes.
Thinking about printing posters at your school?
Education Graphic Solutions builds complete poster maker packages for schools, with the printer, stand, design software, supplies and training in one box. Find the right poster printing machine for your school, read the 2026 buyer’s guide, explore how schools fund a poster printer, or simply request a free quote.
11. Laminate and display it so it lasts
Posters that hang all year, get touched, or live near sinks and doors should be laminated. Cold lamination uses pressure-sensitive film instead of heat, so it’s safe for inkjet prints and simple for staff to run. Learn the differences in cold vs. hot lamination, and see the EGS 25″ Cold Laminator for Schools on our laminators for schools page.
- Let ink dry fully before laminating.
- Choose matte laminate for posters under bright lights to reduce glare.
- Hang with removable mounting strips or poster putty on painted walls, and use borders on bulletin boards.
- Group related posters together and rotate them so walls don’t become background noise.
Our guide to the best ways to hang posters in schools covers walls, cinder block, glass and bulletin boards.
12. Common poster mistakes to avoid
- Too many words. If it reads like an essay, it won’t be read.
- A headline that’s too small to read from the door.
- Low contrast like yellow on white or text over a busy photo.
- Too many fonts or decorative fonts for instructions.
- Stretched or blurry images enlarged past their resolution.
- No clear focal point, so everything competes.
- Crowding the edges with no margins.
- Missing details: date, time, place, or who to contact.
- Typos. Have someone else proofread, then read it backwards.
- Designing small and enlarging later instead of setting the final size first.
- Skipping a test print of a section at 100% scale.
- Hanging it too high for the people meant to read it.
13. Poster ideas for school
Need inspiration? Here are popular poster ideas by occasion and subject, each with a free template to start from.
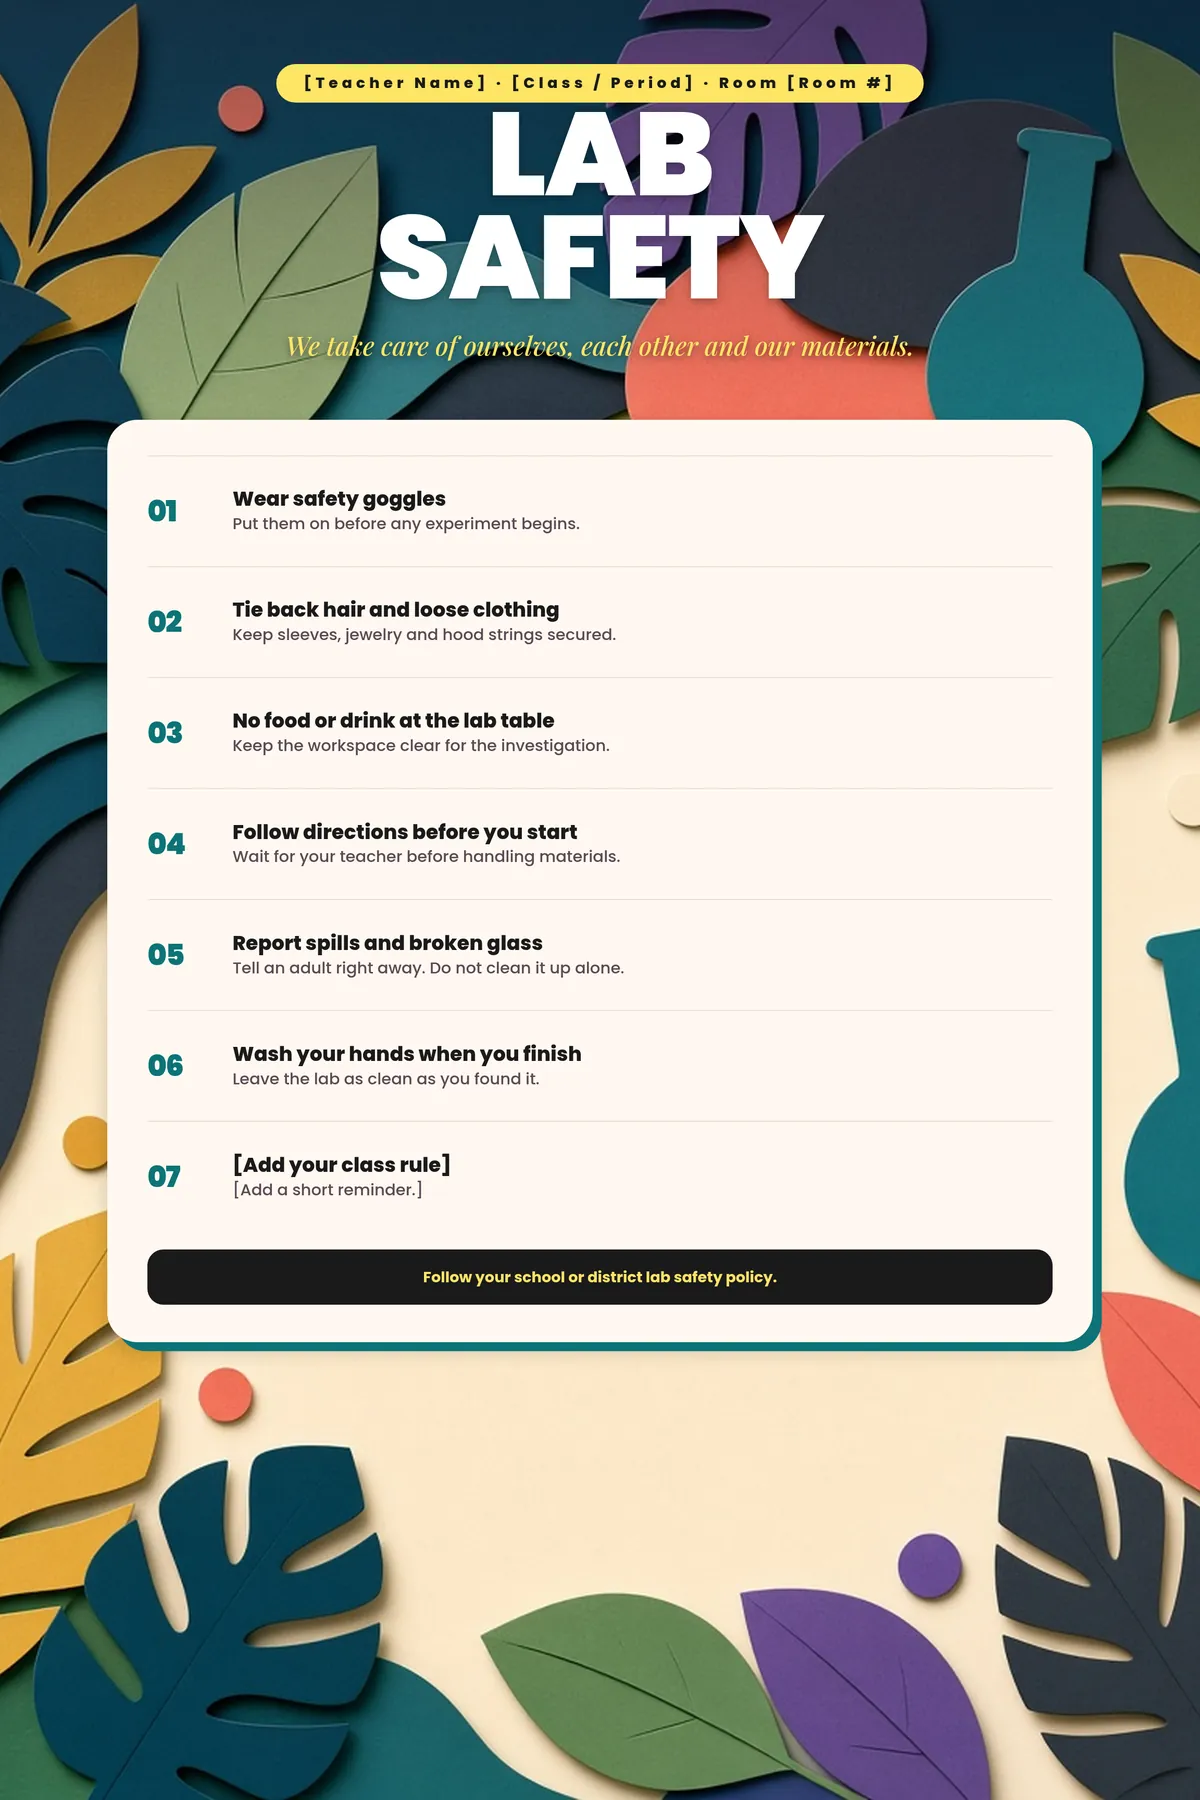
More inspiration: motivational quote posters, or run a student poster design contest and print the winners.
Frequently asked questions
What do you need to make a poster for school?
You need a clear message, a size, and a tool to design it. A free app like Canva or Google Slides, or a free school poster template, works for most posters. Then you need a way to print it at full size: a home printer using tiling, a print shop, or a school poster printer.
What size is a school poster?
The most common school poster sizes are 18×24 inches for classroom walls and 24×36 inches for hallways and events. Science fair boards are often 36×48 inches. Letter (8.5×11) and tabloid (11×17) work for flyers and small signs.
How big should the text be on a poster?
A good rule of thumb is about 1 inch of letter height for every 10 feet of viewing distance. For a classroom poster read from 10 feet, the headline should be at least 1 inch tall, roughly 100 pt. Body text read up close should be at least 30 pt.
What is the best free app to make a school poster?
Canva and Google Slides are both free for students and teachers and let you set a custom poster size in inches. PowerPoint works well too if your school has Microsoft 365. Starting from a free school poster template is the fastest option.
How do I make a poster in Google Slides?
Open a new presentation, go to File, Page setup, Custom, and enter your poster size in inches. Add a large headline, one main image and short text, then download it as a PDF and print it at actual size.
How do I print a large poster at home?
Open your poster PDF and choose the Poster or Tile option in the print dialog. Your printer will split the design across several letter-size pages, which you trim and tape together from the back.
What resolution should images be for a poster?
Aim for at least 150 pixels per inch at the final printed size. For example, an image that will be 12 inches wide should be at least 1800 pixels wide. Never stretch a small image, because it will look blurry.
How do you make a school project poster stand out?
Use a short, bold title, one large visual such as a chart or photo, a clear left-to-right reading order, and two or three colors with high contrast. Leave white space around sections and keep text in short bullets.
Should I laminate a school poster?
Laminate posters that will hang for months, be touched often, or be reused next year. Cold lamination is a simple, heat-free option for printed posters, and a matte finish reduces glare under classroom lights.